|
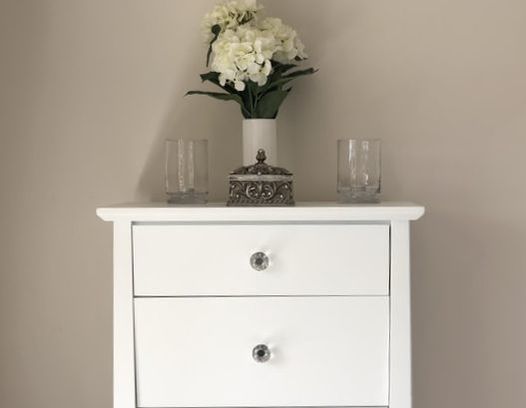
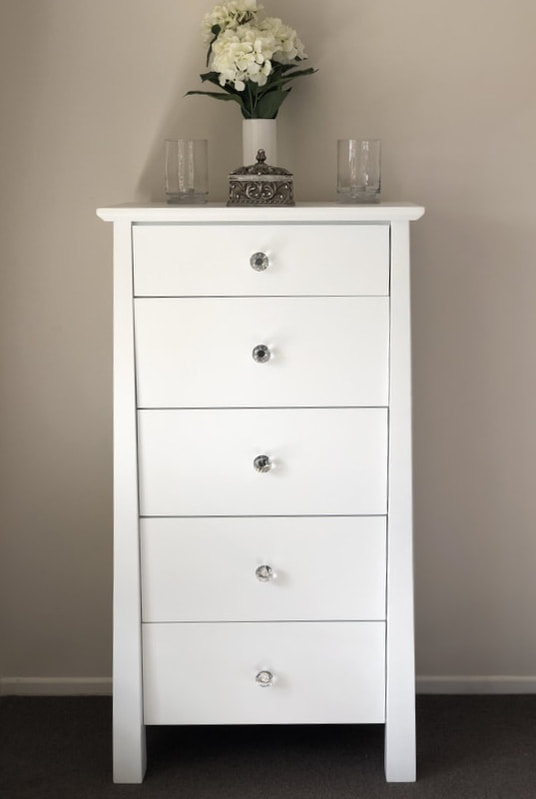
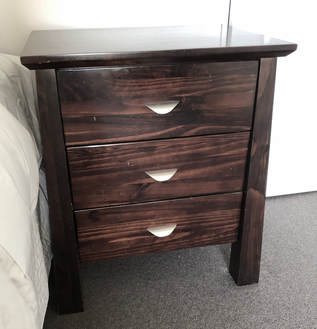
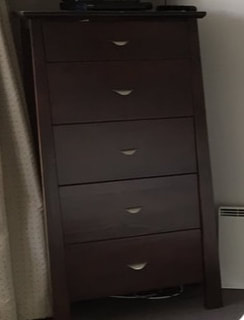
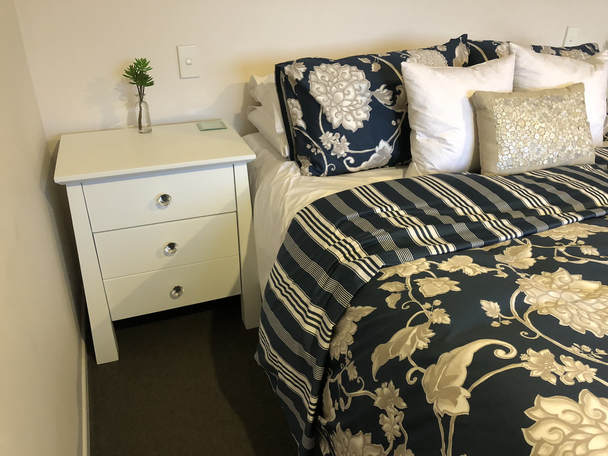
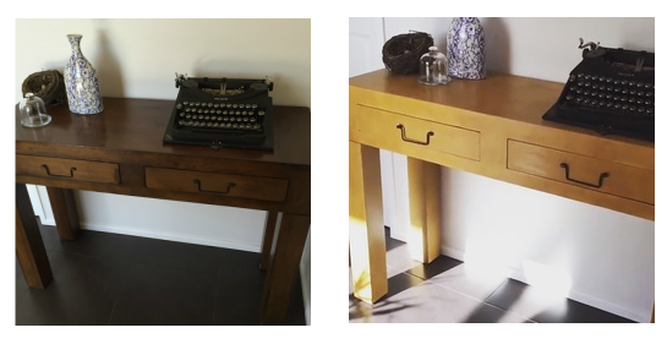
Our bedroom makeover has been on my list for quite some time, and I was getting a little frustrated that I'd not had the time myself to get it done. So... I had an idea... as I do... Engaging a dear friend to paint my, having seen her own beautiful projects, was the key to my quandary. And, needless to say, I'm absolutely delighted with the end result. With new linen and newly painted furniture our master bedroom has truly been transformed (just new wall lights and some artwork to go now). Transformed! Our bedroom furniture before... New linen from www.queenb.co.nz. These pieces of furniture were rolled which of course makes it super QUICK to transform. With just two litres of White paint used, this really is an affordable way to get a 'new' bedroom suite.
A quick scout around on Trade Me and I found the gorgeous glass handles to add the finishing touch of texture and sparkle. At just $13.99 for a box of 10 they were a really great price too! Question: How could you transform your bedroom? Now that's got you thinking...
6 Comments
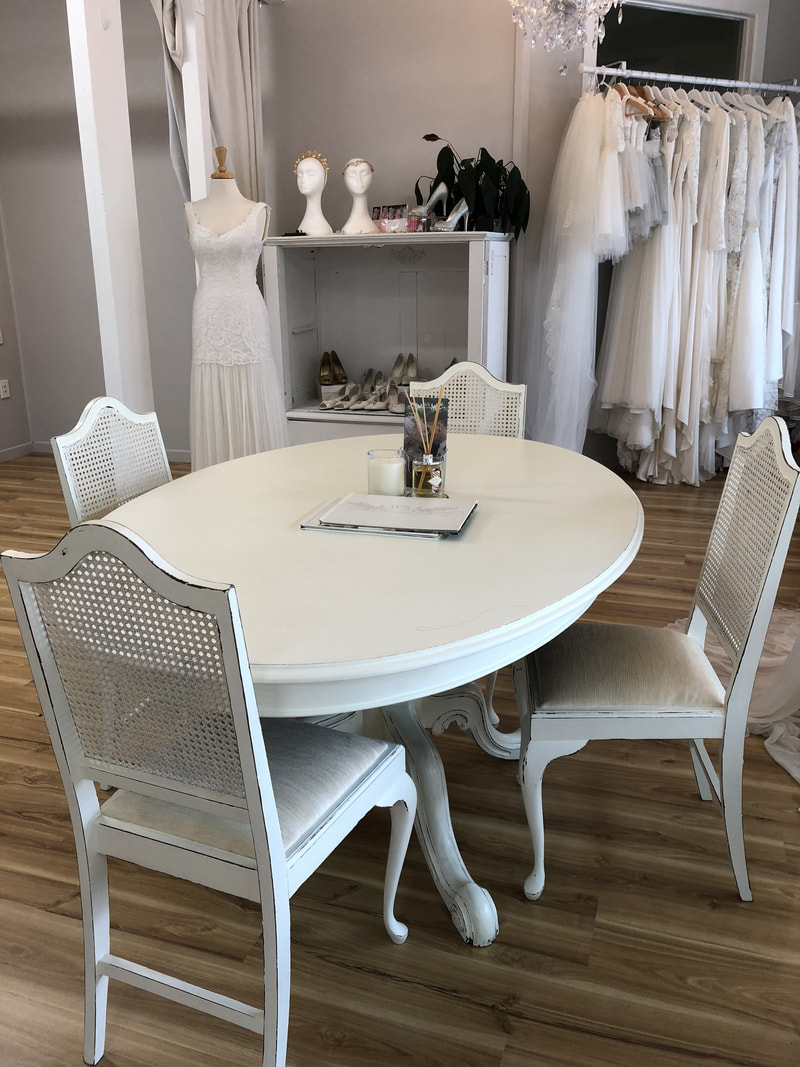
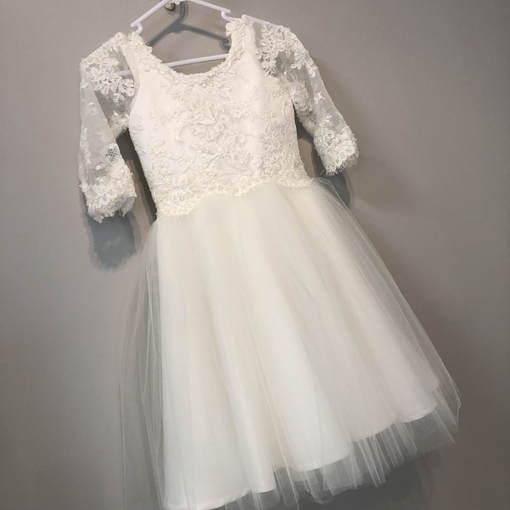
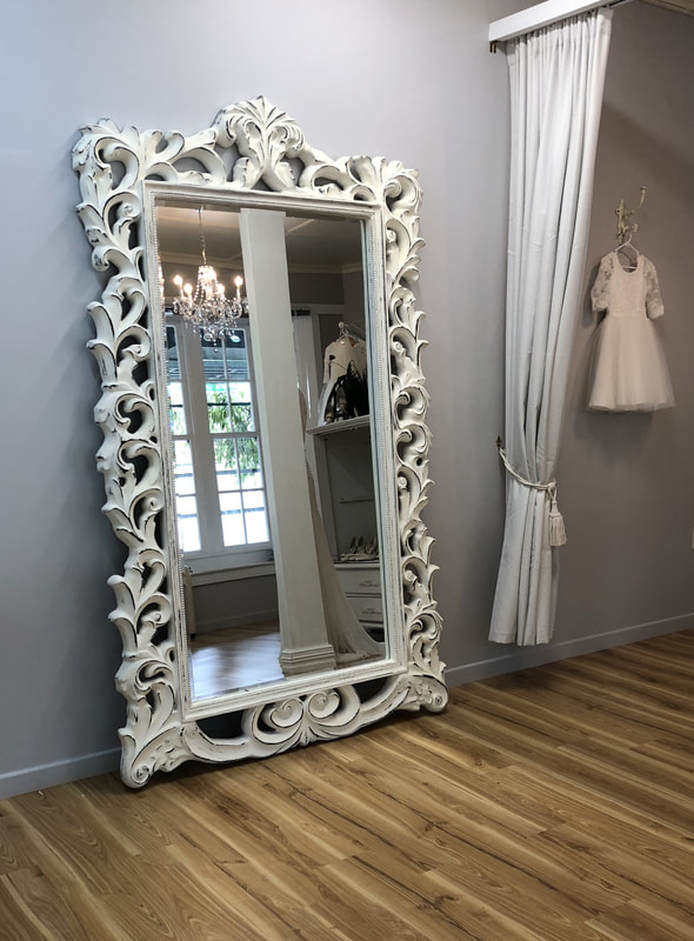
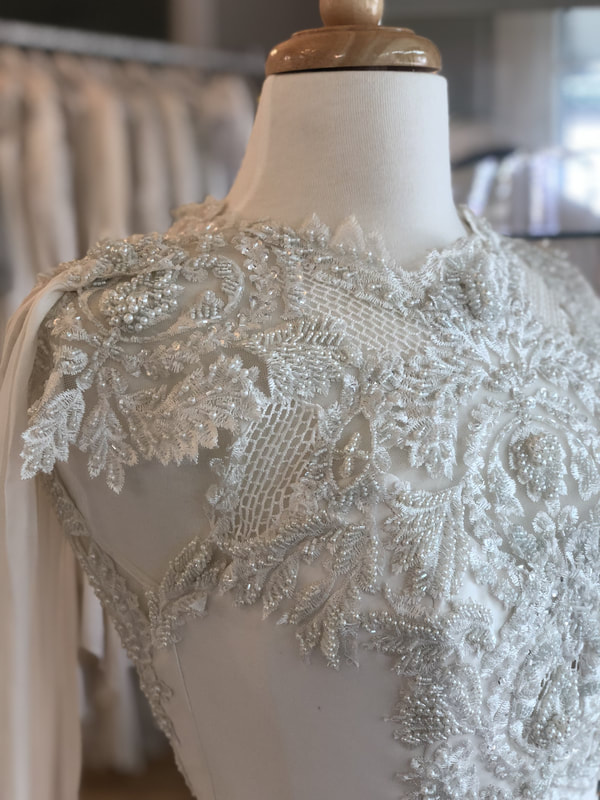
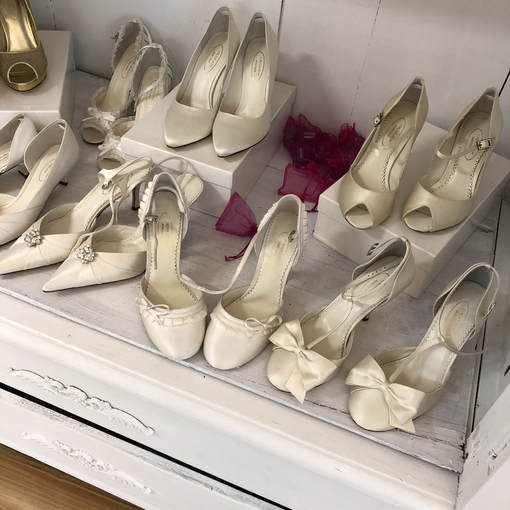
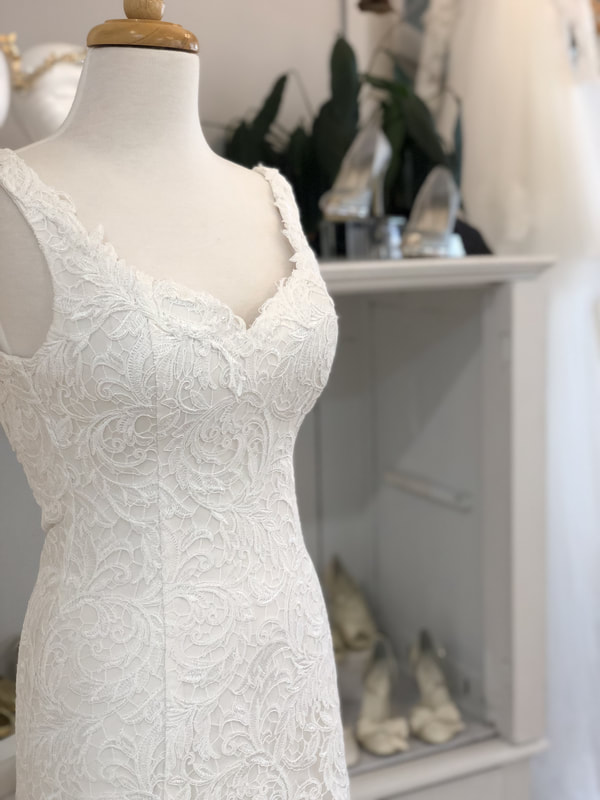
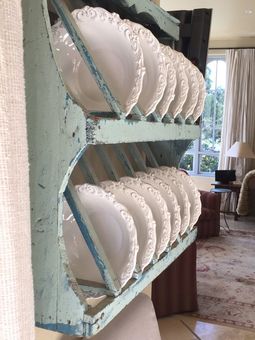
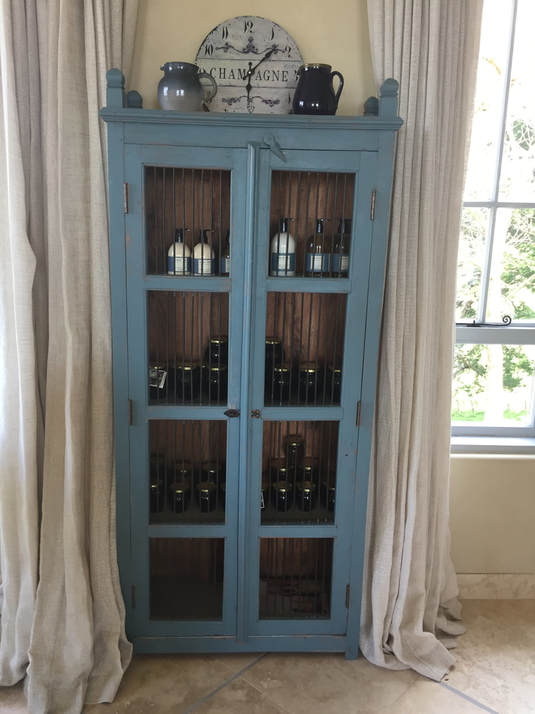
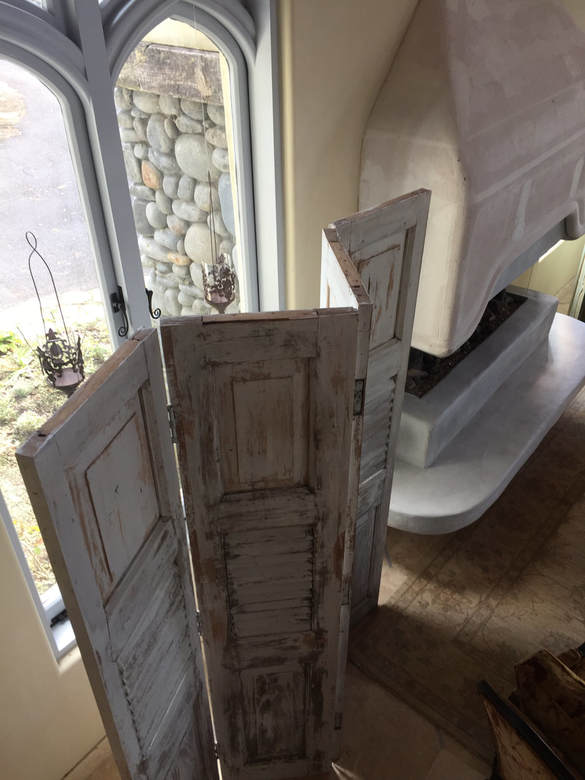
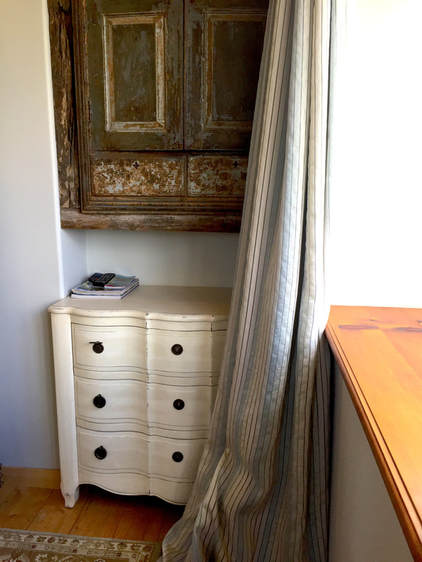
Today I had the absolute pleasure of meeting the incredibly talented Nicky Hayward at White Silk Bridal at the Historic Village in Tauranga. If you love inspiring spaces, this is one place to visit, even if you're not looking for a wedding dress. I'm sure you will love the design of her space, her furnishings and her exquisite gowns and shoes, just as much as I did. It's such a gorgeous space, I didn't want to leave! Enjoy these photographs I took! If you've got an inspiring space I can visit, please get in touch and I'll put it on my list!
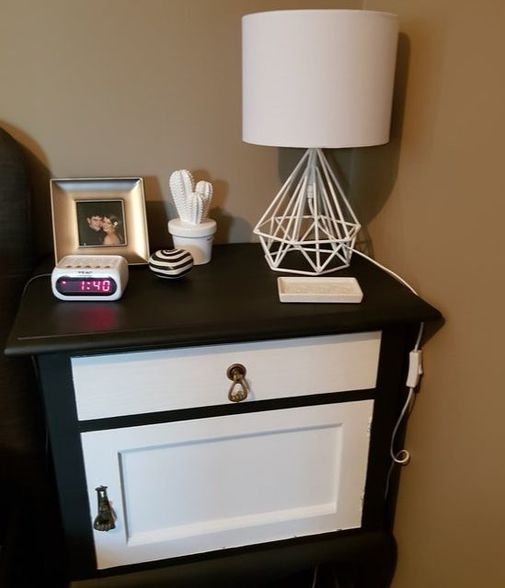
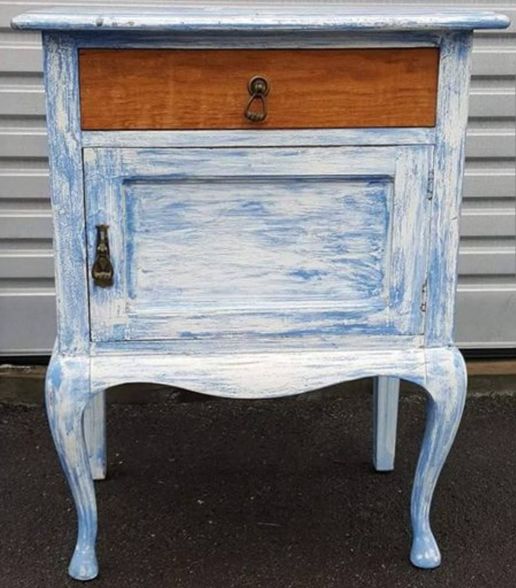
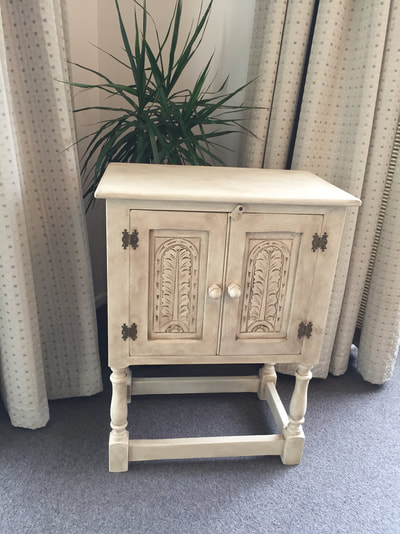
Miranda has been along to a couple of my furniture painting workshops now, and one of her creations is this gorgeous little bedside. I think you'll agree that it looks nothing like it originally did and has come up beautifully in Upcycled & Co. Furniture Paint in Jet & White. Projects like this are so quick and easy! Simply take it apart to paint it, apply 2-3 coats depending on how you are applying it and you're done. With no preparation required, other than sanding any loose paint or varnish, she went straight ahead and painted over the piece. After leaving it to cure for 7 days before putting it back together, she has a bedside cabinet that looks amazing. Here are some things to watch for: 1. Be aware that you may have trouble closing drawers if your paint is too thick. To fix this, simply sand them back a little and apply a thin coat. If they stick, use candle wax to help them slide easily. 2. If you use your piece (or put it back together) before the curing time of 7 days, your piece may chip or scratch easily. 3. You can create custom colours too, and we have a colour mixing tutorial that is part of Furniture Paint 101. 4. Always think about the colour of the room your piece is going into to see what will tone in the best.
Great job Miranda, this looks awesome!
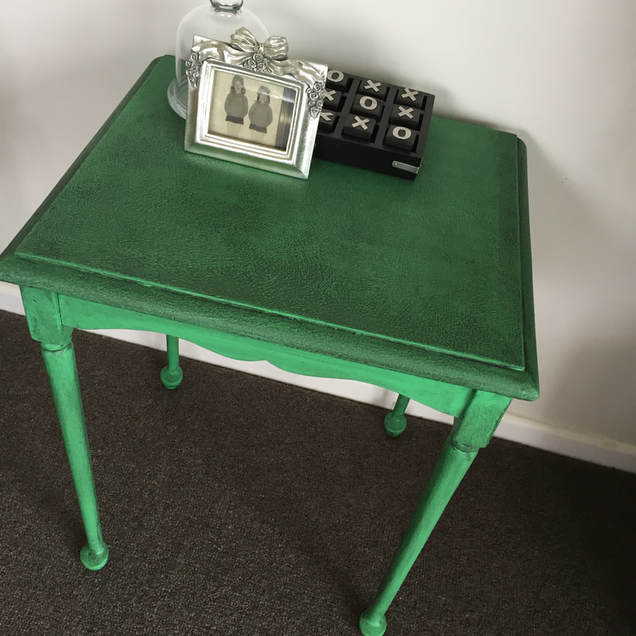
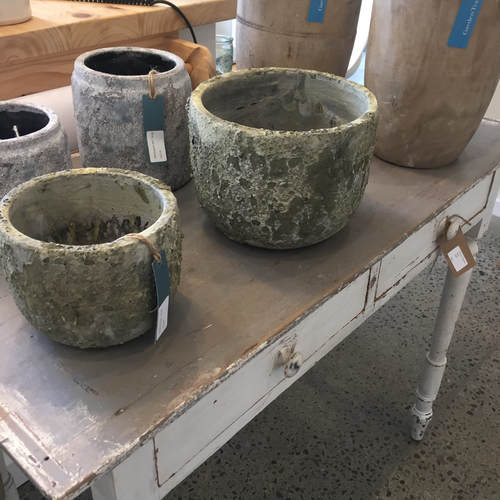
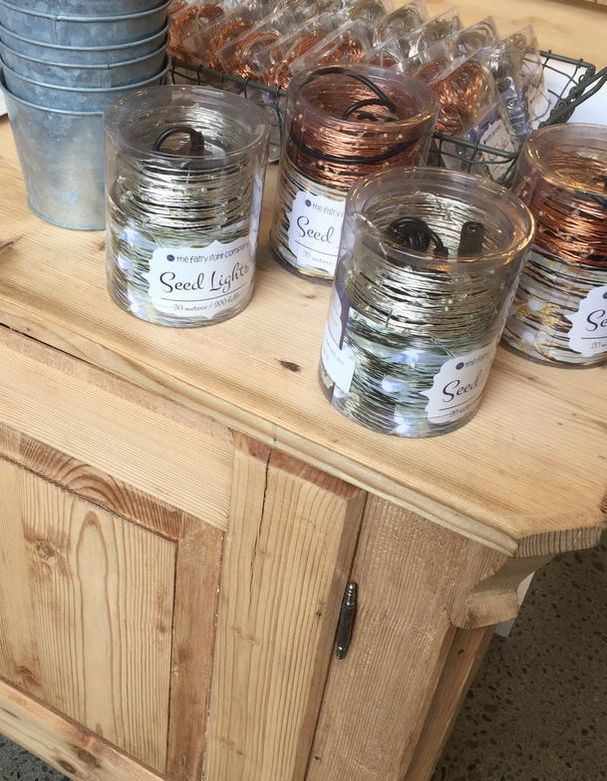
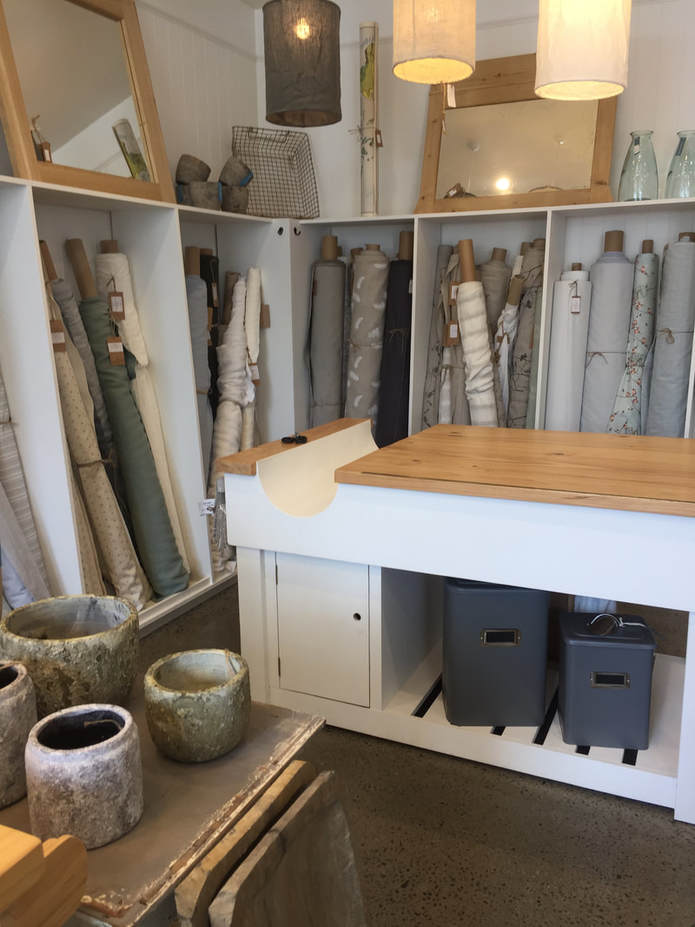
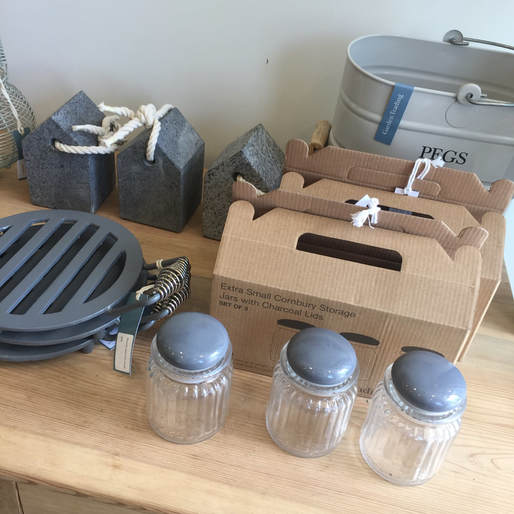
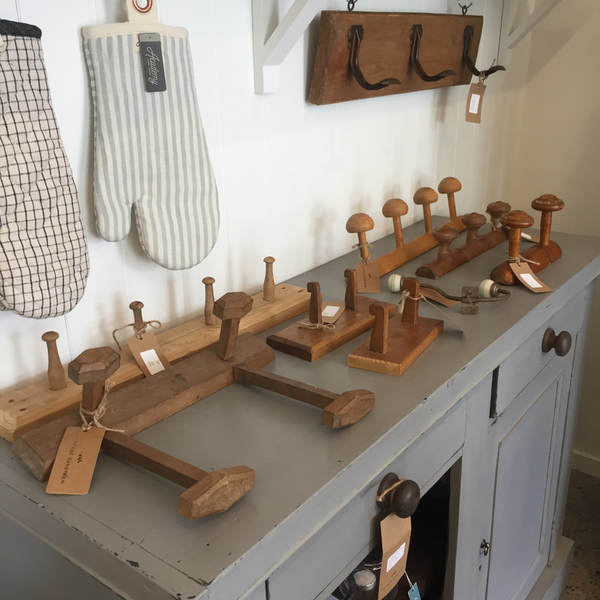
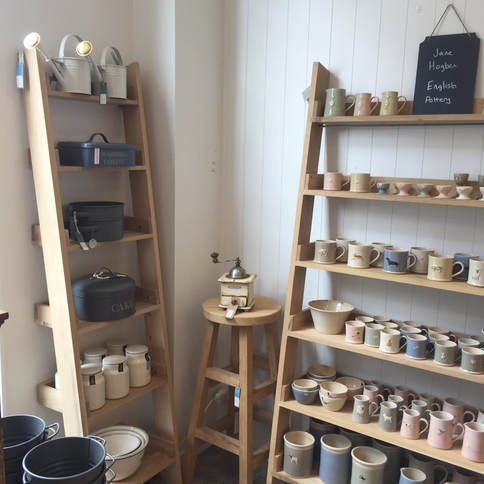
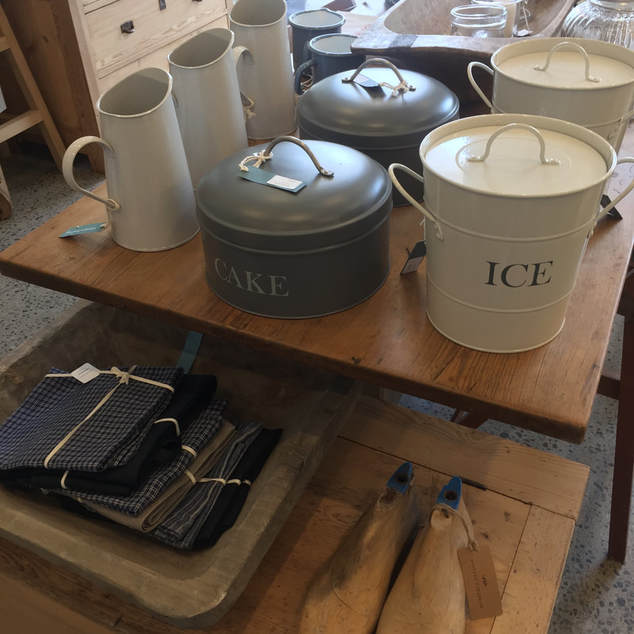
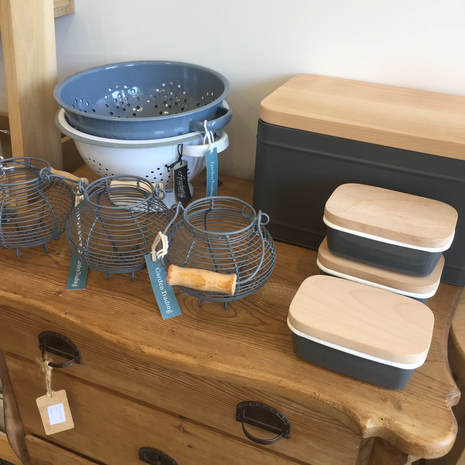
For more inspiration and ideas, check out our FREE Facebook Group. A popular look, this is a finish which is most often created using black or brown wax. This one however, has been created USING ONLY PAINT. Why have I used only paint? Well, it's quicker, easier and more affordable, because there are two parts to the process instead of three, and all you need to buy is paint. When I posted this on my Facebook page recently it was a real hit, so I thought I'd write a short blog post to guide you through the process. Here's what I did: 1. Painted the table in Upcycled & Co. Furniture Paint in Jade with two coats. 2. Created a wash using Jet by mixing the paint 50/50 with water. 3. Applied the Jet wash over top of the Jade. You can learn how to apply a wash effect at my FREE online furniture painting workshop. If you're new to furniture painting I recommend testing the processes, either on a piece of wood, a photo frame or something small. This will give you the practice and help you to feel confident painting your furniture. Getting ideas and inspiration is something we all enjoy. Come on over and join my Facebook group, where we have more than 2,000 like-minded creatives who share their work and support each other. See you there! On our recent trip to Wellington for my Furniture Painting Workshops, we took a couple of days off and spent one of those taking a day trip to the gorgeous Greytown in the Wairarapa. One of my favourite spots, it's packed full of lovely gift stores, shoe stores, antique stores and so much more. A favourite on this trip was Vintage European, a store full of exquisite pieces beautifully put together by Sarah and Mahi. This store in itself is just stunning, let alone the range of vintage inspired European homewares. From vases to tablecloths and everything inbetween, these pieces have been carefully chosen to complement each other, and they do that perfectly. Check out the Vintage European online store on their website too! Pottery & Painted Pieces of Furniture Seed lights and pine furniture Beautiful Fabrics Cute Kitchenware Hooks & Cabinets Ceramic & Wood Ware Metal Jugs, Vases & Cake tins And even more... If you're in the Wairarapa region of New Zealand be sure to check out this wonderful village that is Greytown, established in 1854.
With great cafes, bars and shops, there really is something for everyone! When you're painting furniture you want to learn what not to do, just as much as what to do. Right? Over the years I have learnt a lot from others, and I've had my fair share of learning experiences (aka failures and disasters). It's always fun testing new ideas and trying things out, some of which are successful, and some not so successful; and we all have those, believe me. Today I want to share some of these with you, so that you don't make the same mistakes.
Remember that furniture painting is about having fun, being creative and making something unique for your home, it's not about producing something that looks like it's come out of a factory.
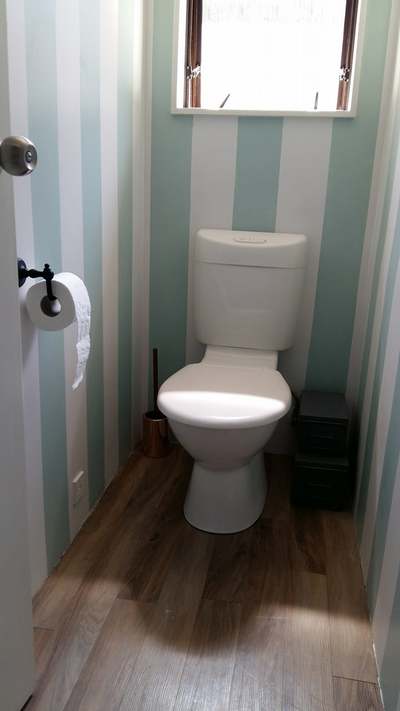
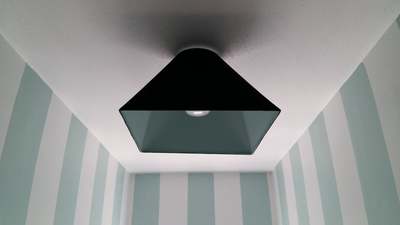
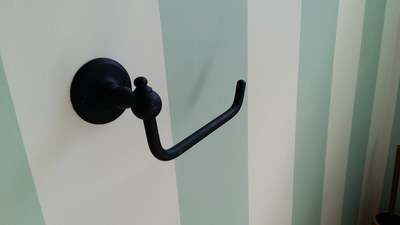
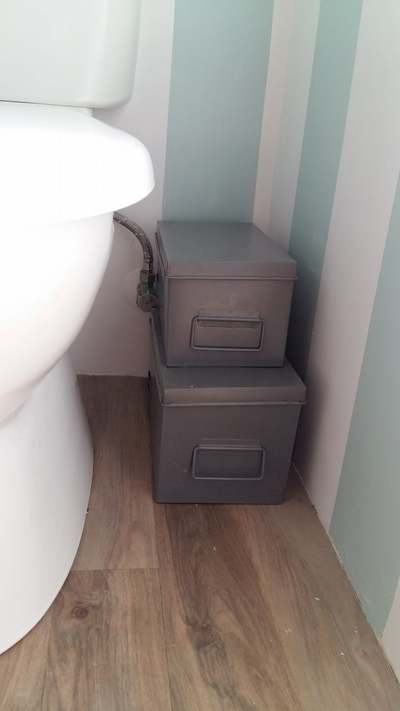
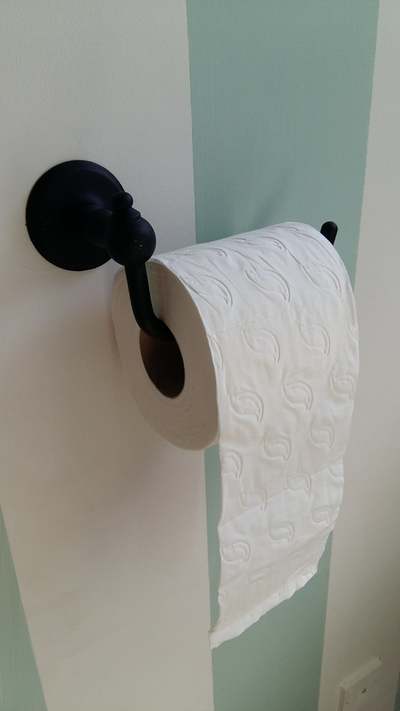
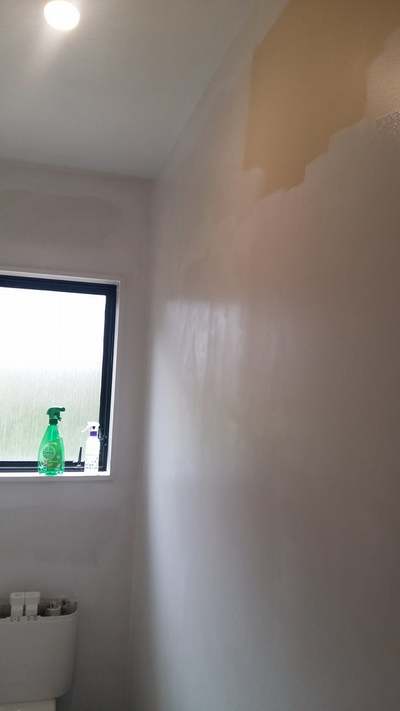
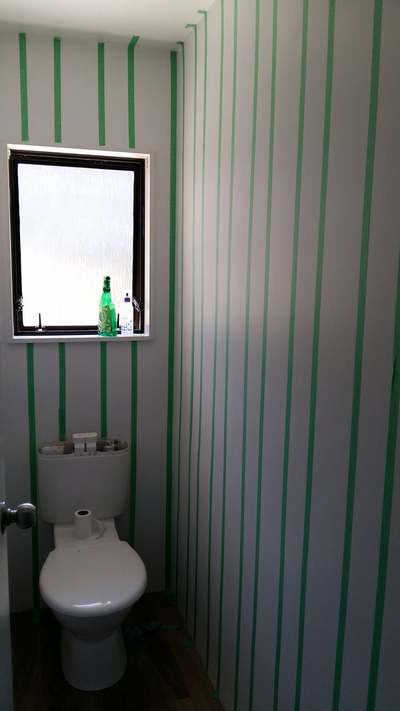
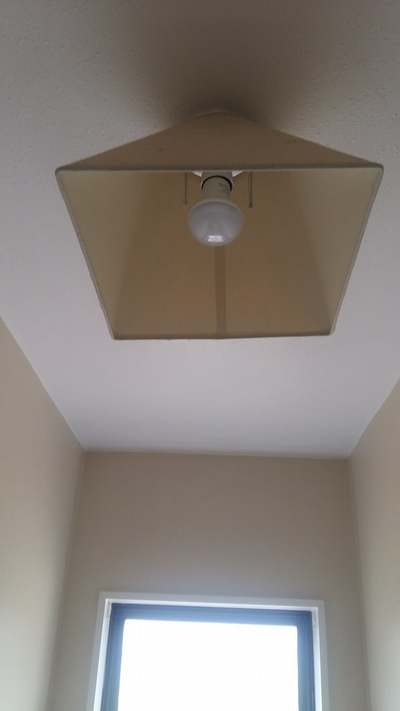
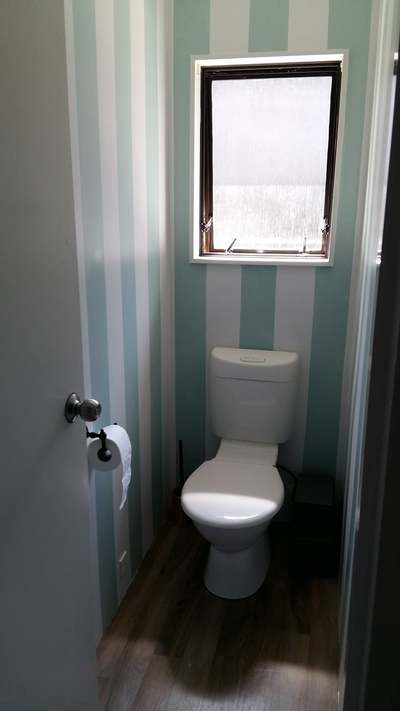
Have fun! Kathryn x Updating your home with paint is one of the quickest and easiest things to do, and what a difference it makes. Kate did just that to her loo recently and it looks AMAZING! Over a weekend she and a friend got stuck in and created this gorgeous little room. Using Upcycled & Co. Furniture Paint in Duck Egg she created these stunning stripes. She then used Jet to paint the toilet roll holder, and the lightshade. You too can transform a room in your home in no time at all. Simply paint the walls and hardware in one of our 15 colours or create your own custom colour once you've taken our Online Furniture Paint 101 Workshop which includes our Colour Mixing Tutorial. The other option is to attend one of our classroom workshop around New Zealand. For more ideas and inspiration, check out our before and after gallery.
Join us over in our FREE Facebook group too! 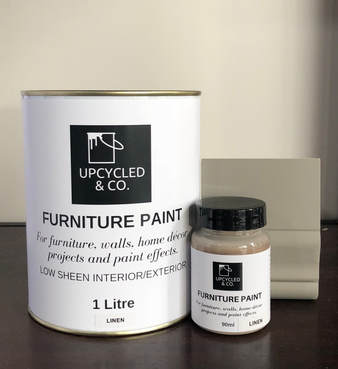 Early last year I had an idea... and my thinking went something like this... "I wonder if you could create all of the beautiful waxed, aged, layered and textured and antiqued looks, but just using paint." Being a bit of an ideas person; well okay, being someone who NEVER stops having new ideas, and someone who really enjoys developing those ideas, I set to work to see if I could do just that. And, to cut a long story short, after a few months of testing, I discovered that in fact I could. This was the beginning of Upcycled & Co. Furniture Paint. My paint is designed to be used with the processes I developed, which are taught in my Furniture Paint 101 & 102 workshops (both online and in face-to-face workshops around New Zealand). Here's a little introduction to my paint.
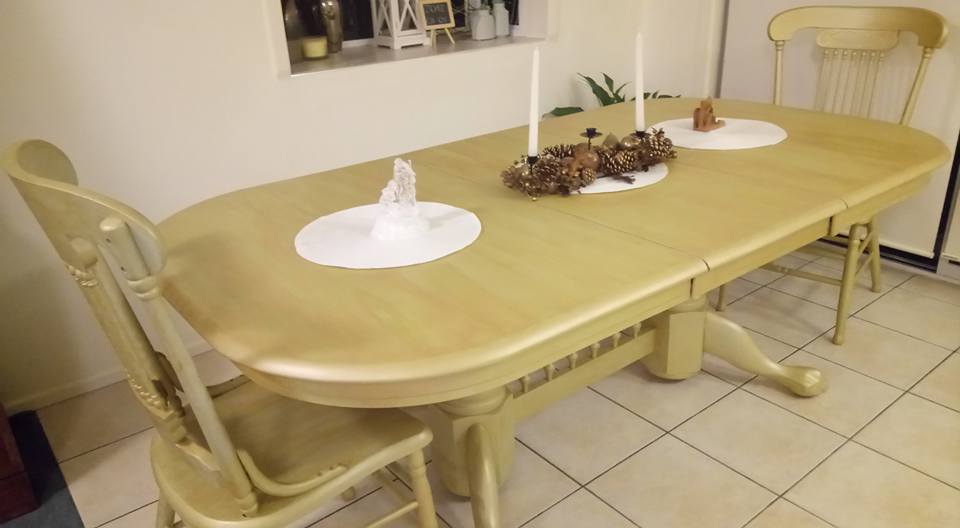
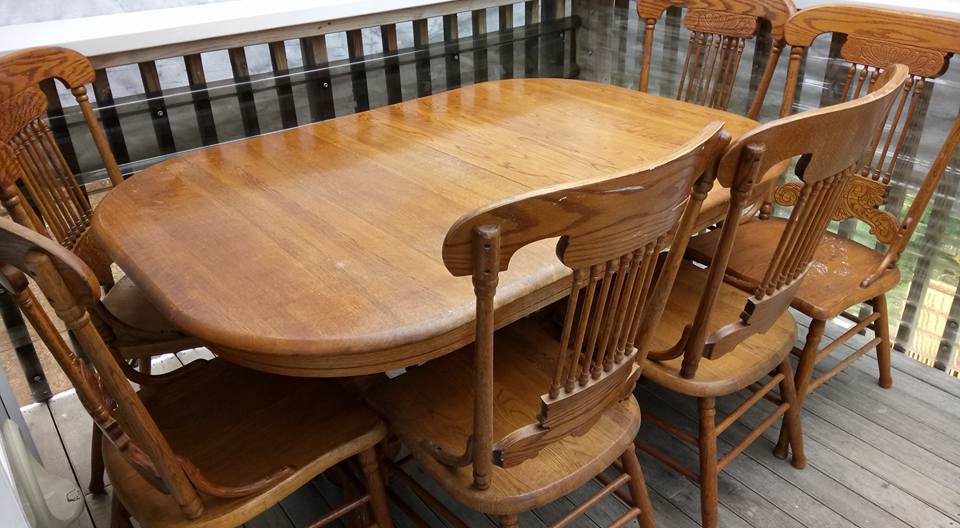
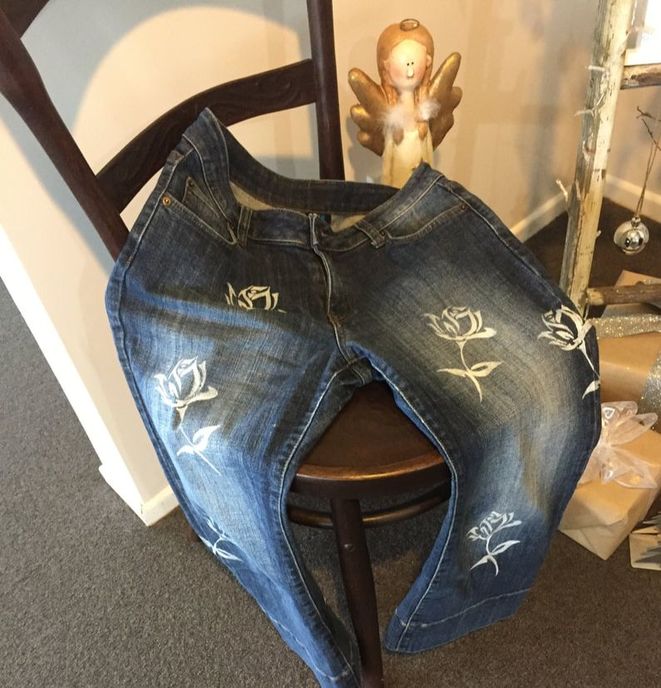
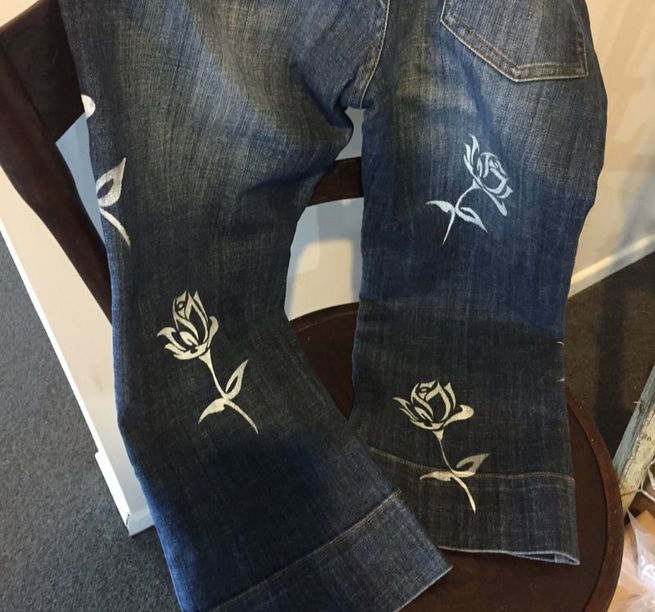
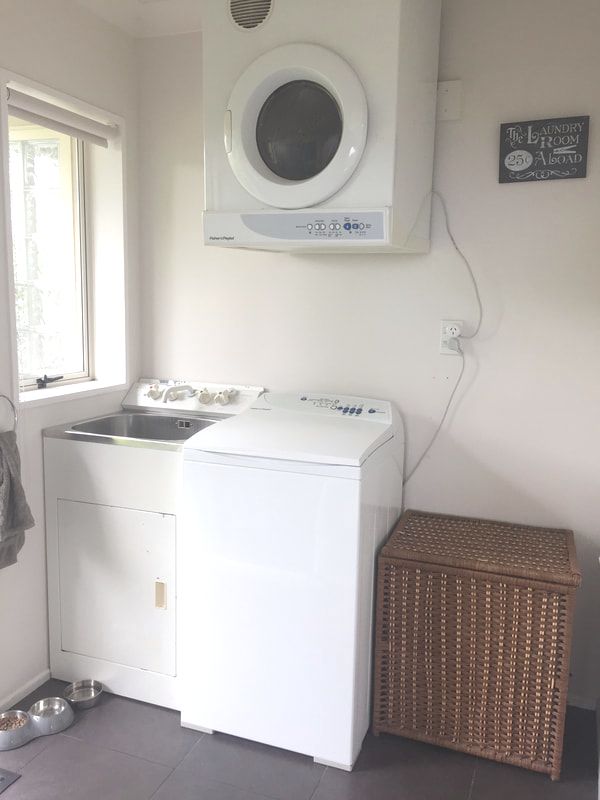
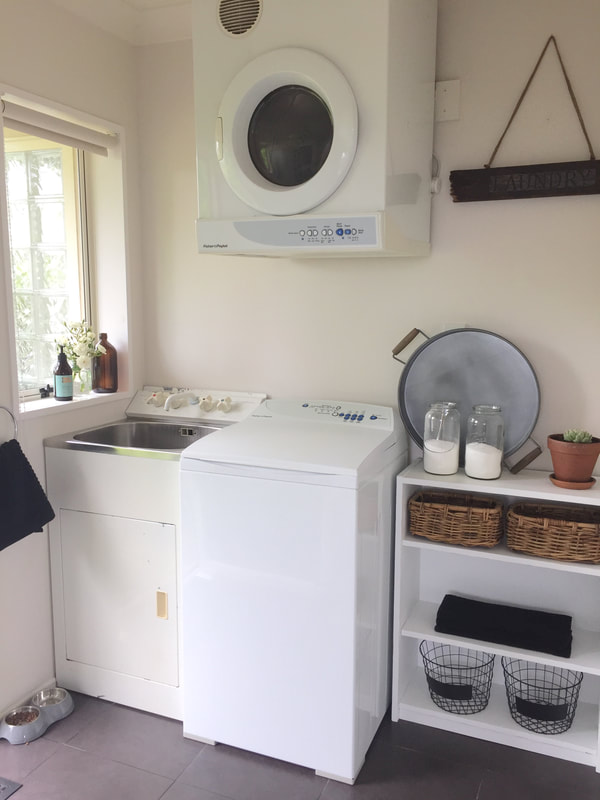
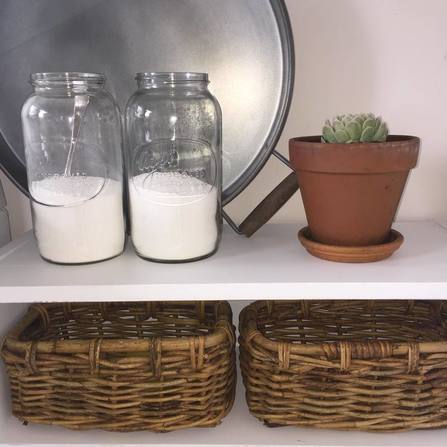
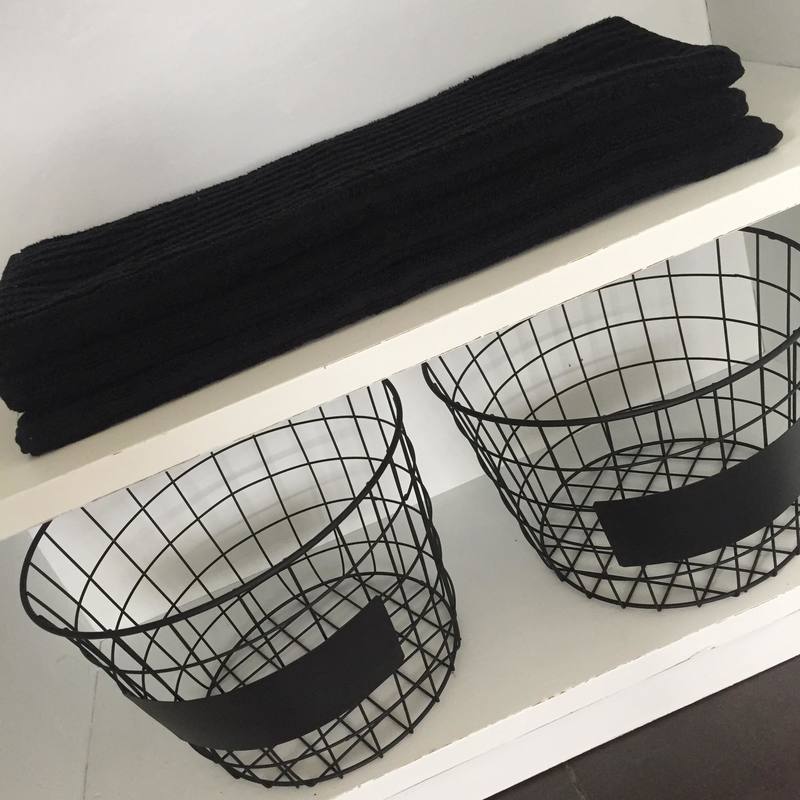
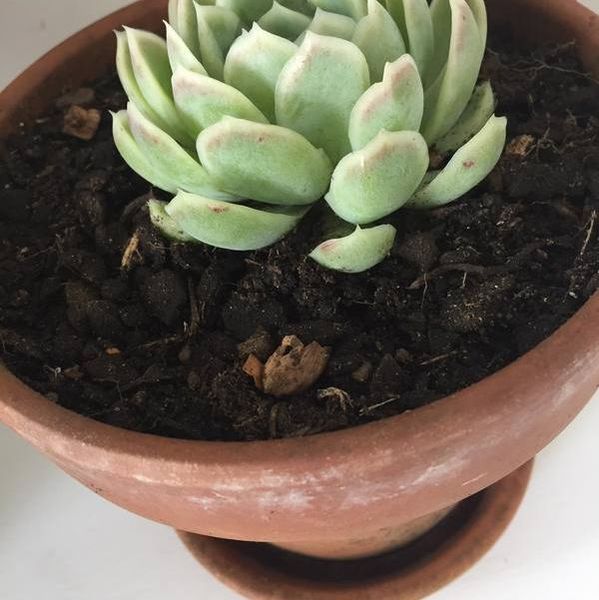
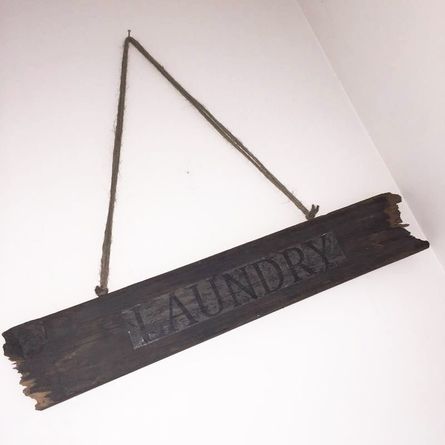
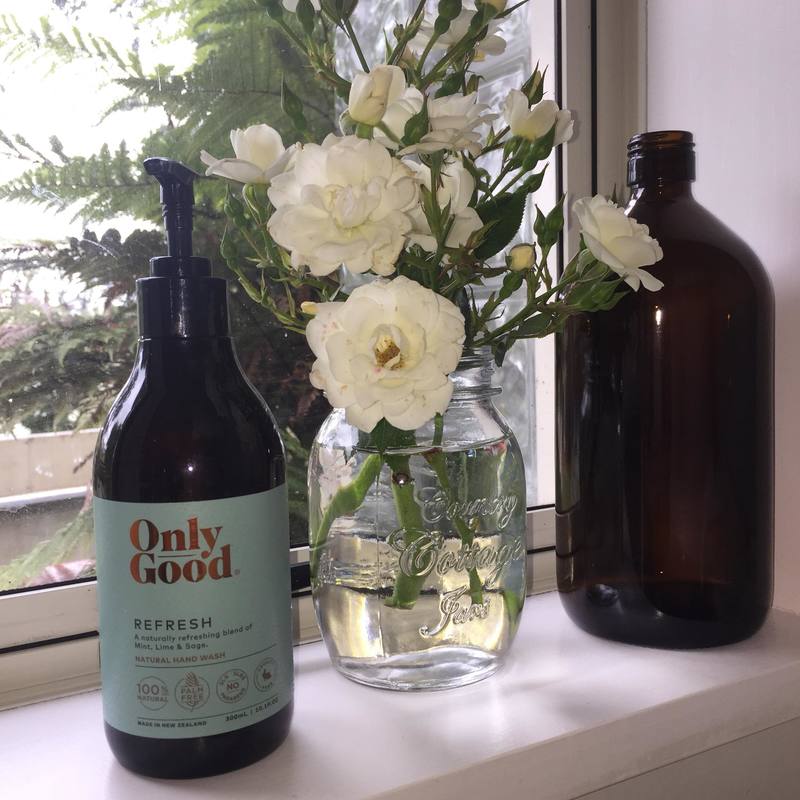
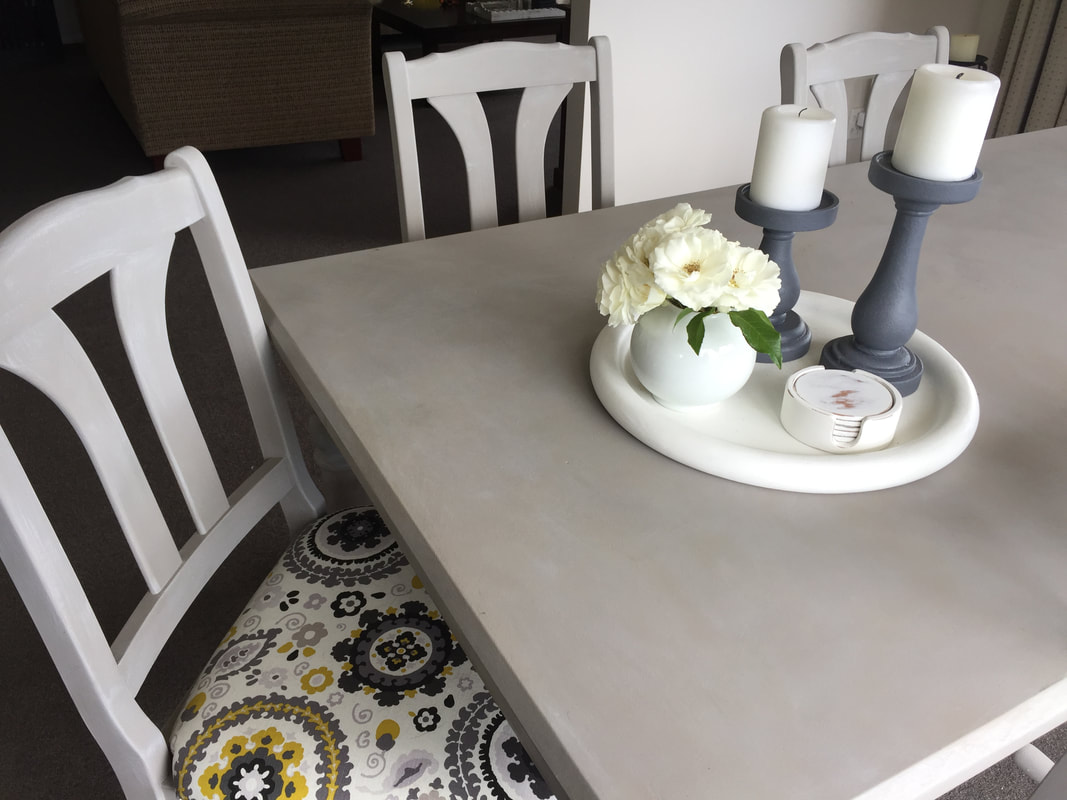
As you know I'm now running my Furniture Paint 101 & 102 workshops around New Zealand. The classes are filling up more and more, which is really wonderful. In November, Hercille came along to Furniture Paint 101. Her vivacious and cheeky personality really added spark to the group that day, and she had a knack of getting everyone behind the lens. It was so much fun, we really had some laughs. With her new skills she went home and created this absolutely stunning dining room suite using Upcycled & Co. Furniture Paint. Oh and remember, with Upcycled & Co. Furniture Paint there is NO SANDING, NO PRIMING, NO WAXING AND NO VARNISHING. At least 99% of the time there is no sanding (you only need to if you have flaking varnish or paint, a rough surface you want to create a smooth finish on or if you have old shiny 70s or 80s formica). Here's what she did: 1. Applied one coat of Sky. 2. Applied one coat of Ash. 3. Watered down the Gold paint slightly to create a smooth slightly washed effect on the table top. 4. Painted the chairs in Gold. 5. Finally, she applied a clear coat. This is recommended if you're using our Gold or Silver as a top coat as they're really only designed to be used for highlighting. Isn't it just stunning! Well done Hercille, I can't wait to see you at Furniture Paint 102! With Upcycled & Co. Furniture Paint you can paint just about anything! This holiday season I'm having loads of fun upcycling a few bits and pieces around our home... and in my wardrobe. My cropped leg jeans were the latest. These have now been washed and dried without any problem at all. An incredibly QUICK, EASY + AFFORDABLE project, this took just 10 minutes, if that! Here's what I did: 1. Lay jeans out flat on a table ensuring all creases are out (you could iron if necessary). 2. Use 1 teaspoon of Upcycled & Co. Furniture Paint in a small painting tray. 3. Position your stencil. 4. Secure the stencil with masking tape or wide packing tape. 5. Paint over your stencil with a small foam roller. 6. Dry with a hairdryer. 7. Complete all stencil areas using the same technique. 8. Put the clothing in the drier for 15 minutes to help cure the paint. 9. Wash and dry as normal. Okay, so now it's your turn. What items do you have in your wardrobe you could do this to? Have fun creating! Kathryn x Do you love Joanna & Chip Gaines from Magnolia Market on HGTV's Fixer Upper Show as much as I do?. I'm an avid follower of both the show, and Magnolia Market in Waco, Texas. So, I've been itching to try out some ideas on some of our smallest rooms. Now that I have a break from my workshops for a month, I'm doing just that. With a combination of charity shop finds, some things I already had, and a few pieces from KMart, this little makeover on our laundry room was done in 24 hours and cost just $97.50! Oh and I painted the shelf in Upcycled & Co. Furniture Paint in White a few months ago. If you've been following Upcycled & Co. for a while you'll know that my whole philosophy with the business is about bringing you QUICK, EASY + AFFORDABLE products and services. For my redecorating projects, I adopt the same principle. Next year we plan on some bigger changes in our home so for now I just wanted to try out a few little ideas to freshen things up a bit. Starting with the laundry room... Bookshelf $5 charity shop find painted in Upcycled & Co. Furniture Paint in White and distressed. Handtowels $4 each from KMart. Metal Tray $18 as part of a set from Le Monde in Parnell. Brown Glass Bottle $1.50 from KMart. Glass Vase $3 from KMart. Agee Jars $4 charity shop find. Black Baskets $6 each from KMart. Terracotta Pot $6. Succulent $2. Only Good Handwash $6. Cane Baskets $20. After a little hunting and gathering out and about, and at home, I managed to pull together a far more interesting space, and I had loads of fun in the process.
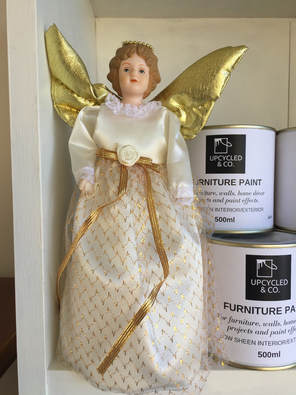
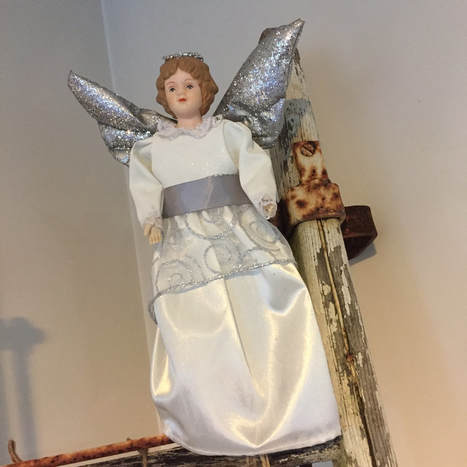
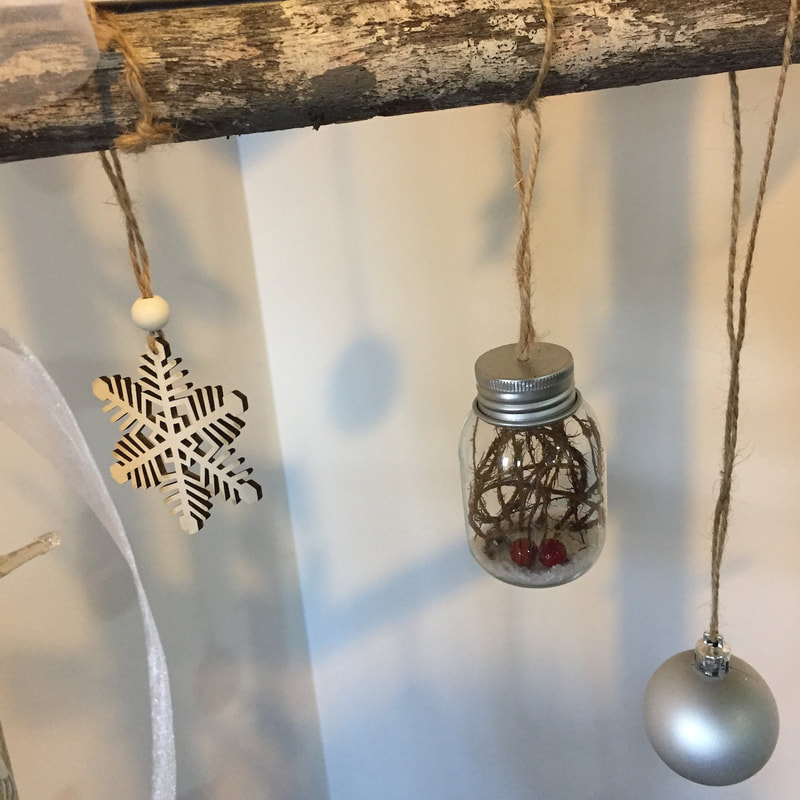
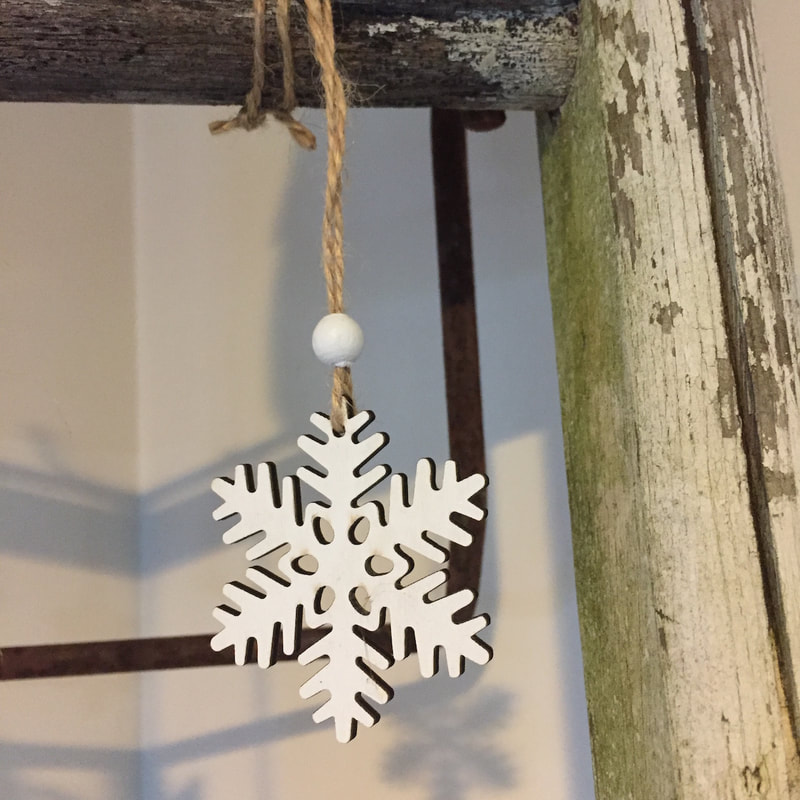
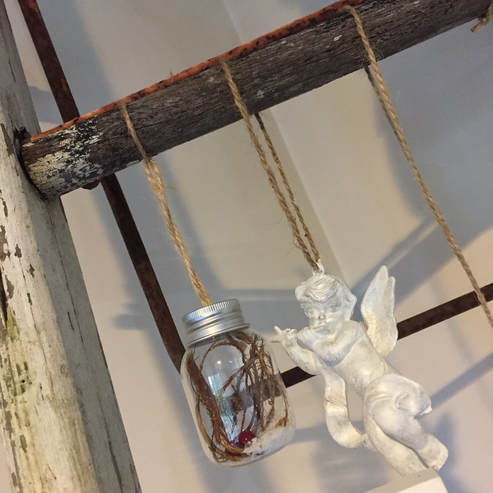
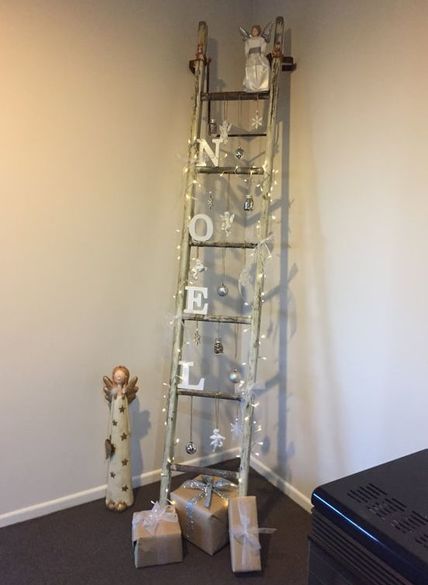
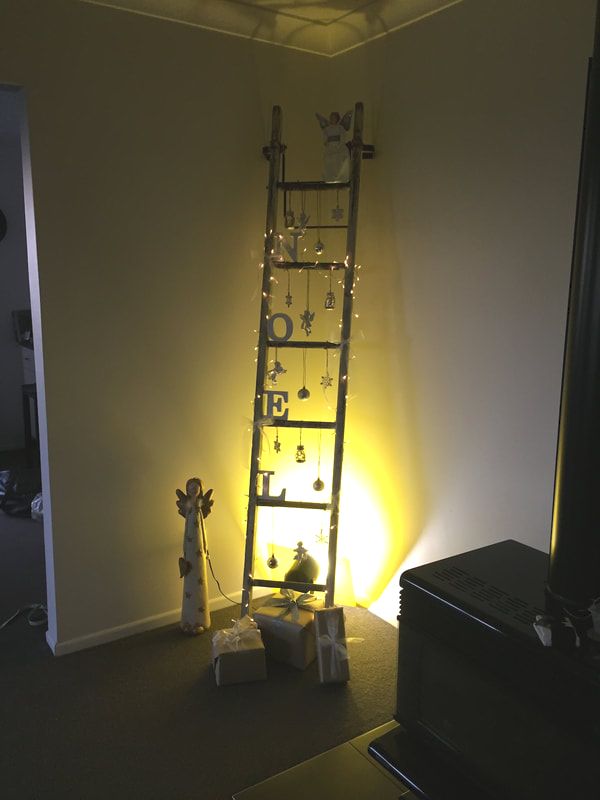
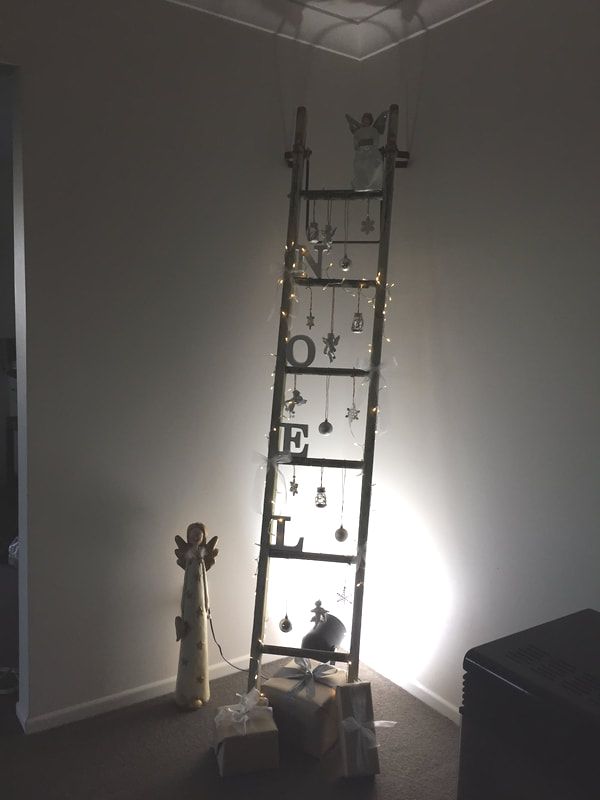
Remember to make time for your creativity these holidays. A wonderful time of year! As a child Christmas was a very special time in our household. With seven children to buy and cook for, my mother was busy. Incredibly organised, and always well ahead of time, she would shop and store presents months in advance. It was always an exciting time, because we knew that the very, very high long narrow hall cupboard was full of special things for us all. These days I'm more aware that not everyone has the wonderful memories I have, and that for many, this time of year is sad and stressful. My heart goes out to those people, and with this in mind, to be perfectly honest, I struggle a little with where to 'put' myself in it all these days. Don't get me wrong, I love the Christmas fare, and of course the decorations; especially the creative ones people make now. But I'm mindful of the many experiences people have at this time of year. Yesterday I had a fun afternoon shopping for new decorations, painting some, and decorating an old wooden ladder that belonged to my father-in-law; it is more than 50 years old. This year I wanted to go with a white, silver and craft paper/string theme. Here are a few photographs of the process of putting together our Christmas 'tree'. Step 1 First up, these cute wee plastic cherubs got a make over with Upcycled & Co. Furniture Paint in White and Silver. With a very sparse coat of paint to start with (which drys as you're painting it on pretty much), I then applied a second thicker coat, and a third because I wanted to create texture. Then I highlighted with Silver and replaced the gold string with jute twine. Step 2 I replaced the silver string on these balls for jute twine. Step 3 This gorgeous angel was just $2 at the Emporium, but she needed a makeover to fit in with my colour scheme. I removed her gold ribbon from around her middle, and cut away her overskirt. Then I painted her cream top white and sprinkled it with some white glitter while the paint was still wet. Next her wings and crown were painted silver with silver glitter being added to the wet paint. Last but not least, a new over skirt made from some ribbon I had. Step 4 It's time to dress the 'tree'. Step 5 My husband Craig had a play around with some spotlighting. There you have it, Christmas 2018 at the home of Upcycled & Co. I'd love to see your Christmas tree. You can share it on our Christmas tree Facebook post here. Happy Christmas my friends... and, please spare a thought for those who are not so fortunate. Kathryn x p.s. Yes, my next project is to bring the large ceramic angel into my scheme! With Christmas approaching we're thinking about bringing our plans together and getting ready for the day. It's a busy time of year for many of us. If you're hosting a family day at yours this year you're no doubt running around getting things tidied up at home in readiness. And as you know, there is always something to do! It's surprising what a 'lick' of paint can do in the garden and outdoor areas - a coat of paint on the fence, outdoor furniture, pots and planters will make a massive difference to your entertaining space. Upcycled & Co. Furniture Paint is ideal for indoor or outdoor projects, so it's the only paint you need. Our fence is looking so much better! Pots and planters refreshed with Upcycled & Co. Furniture Paint in Jet. Makes such a difference. The great thing about these projects is that they're QUICK + EASY!
In an afternoon you can have all of your pots and planters looking beautiful for the Summer. Go for a classic look with Jet or for something bright or funky try Aqua, Jade or Ruby. Check out our paint range here. 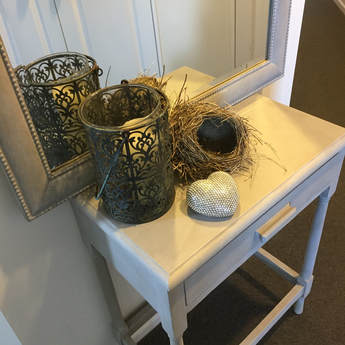 If you're like me, you like quick results. With a textured finish, you get just that, and it's very easy too. This gorgeous finish can be applied just as this one is, with one colour of Upcycled & Co. Furniture Paint only or you can add a wash of another colour, a dry brush effect or more textured random colours for a layered effect. I love nothing more than experimenting, and that's exactly what I've done with this piece. Check out the video and let me know what you think. If you'd love more ideas and inspiration, head on over and join my FREE Facebook Group! Watch this space because I get the feeling it's not finished yet... Kathryn x
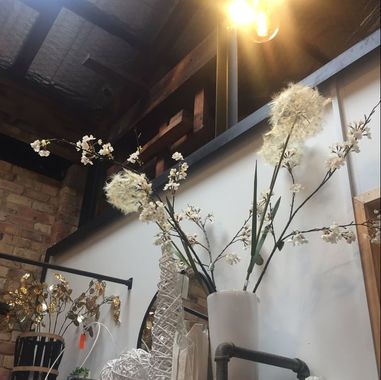
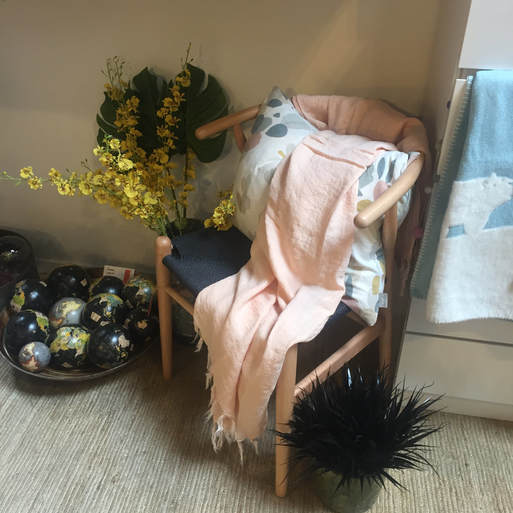
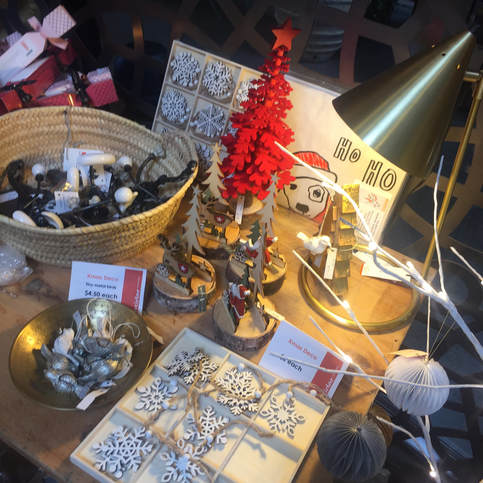
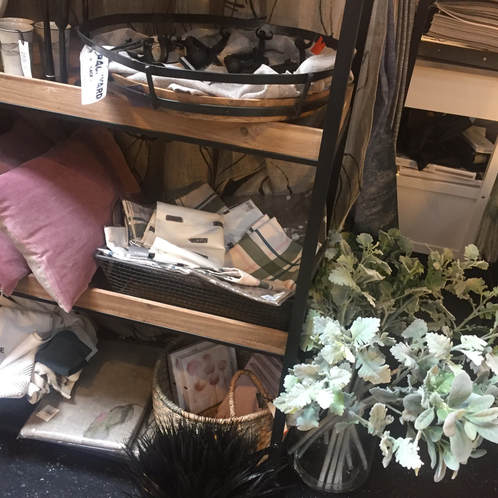
This time we were headed to Thames, a New Zealand town which became the second largest city in the country when gold was discovered there in 1867. Robyn originally studied textiles and design in Wellington before becoming involved in costume for the television and film industry where she spent 17 years. In more recent years she furthered her study with a Diploma in Interior Design and then launched Insider. Her store at The Depot in Thames is an absolute delight with everything from cushions to Christmas decorations, lighting, fabrics, and much more. And, Bite Deli is right next door... perfect I say! Here's a sneak peek inside. A beautiful collection of Christmas decorations. Pretty. Beautiful soft furnishings and accessories. Even more Christmas decorations! Cushions, linen and foliage. Next time you're looking for a day out, head to Thames. With it's cafes, coastline and raft of creatives I'm sure you'll have just as much fun as I did.
If you're looking for ideas about paint colours, check out last week's blog post, How to Choose a Paint Colour for your Furniture. Have a great week!
With this new workshop you'll take your skills to a whole new level with these advanced furniture and home decor painting techniques (and the workshops includes our popular Stone Effect technique). You'll feel even more confident as you practice these new techniques, and as always, we will have a few laughs along the way. Here's what you will get:
The Stone Effect Texturing & Layering Dry Brush Effect Creating & Using a Custom Colour The new techniques:
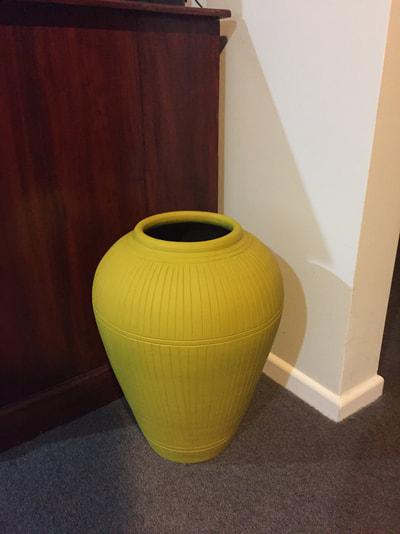
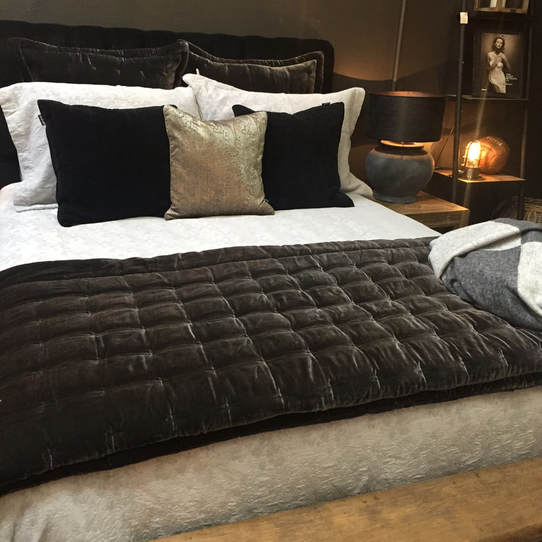
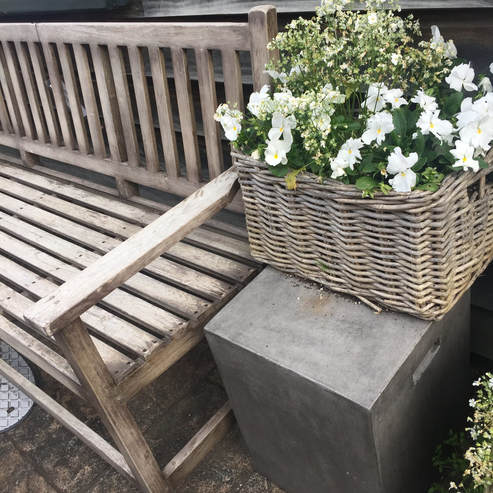
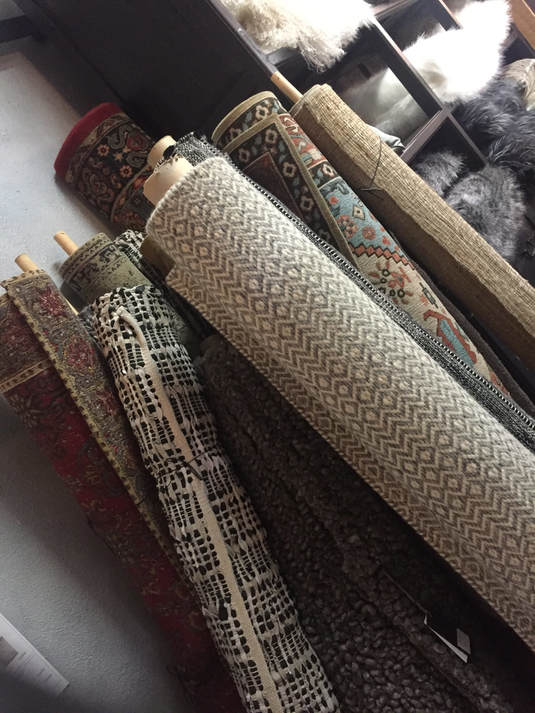
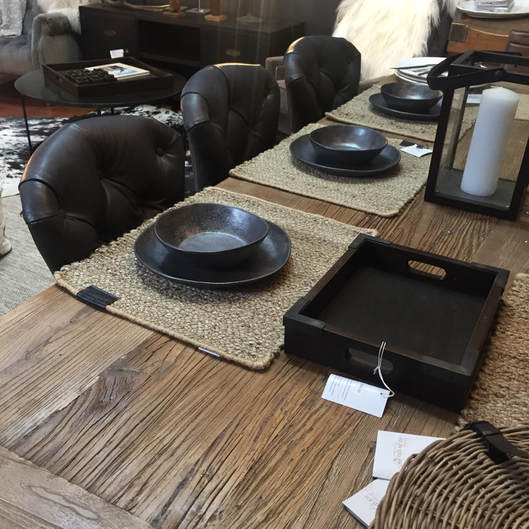
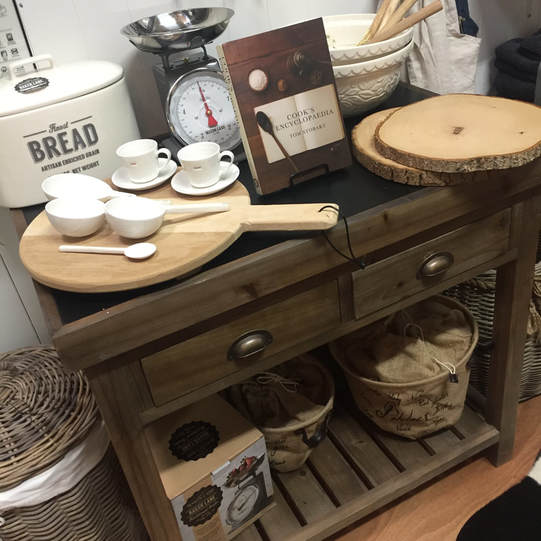
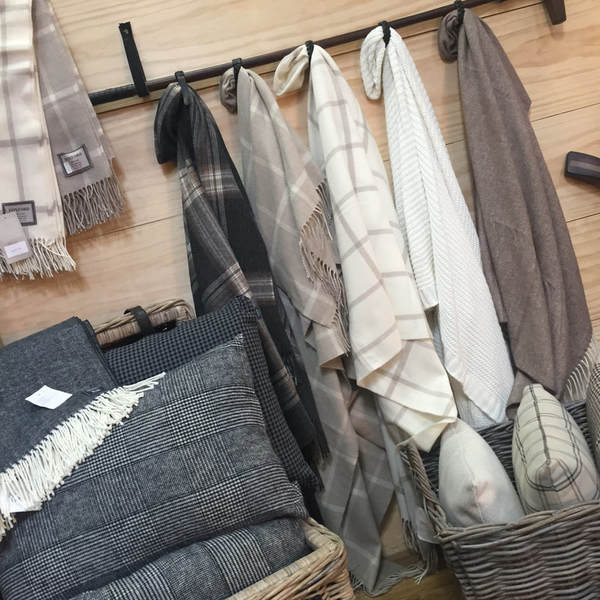
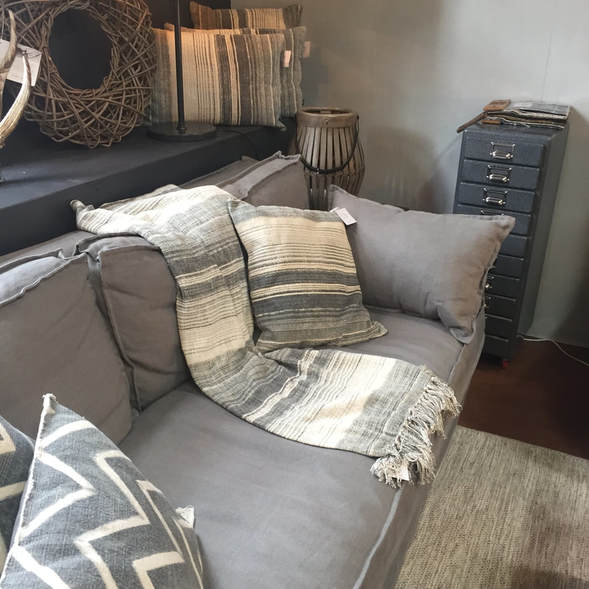
The workshop is available in Tauranga, Cambridge, Pukekohe, Howick and Wellington, with more locations to come in 2018. Grab your spot on Furniture Paint 102 HERE! See you at the workshop soon! Kathryn p.s. I've got some new videos on my YouTube channel you might like to watch too. Last weekend I was back in Cambridge to run two furniture painting workshops. Cambridge is one of my favourite places. It's a country town about two hours south of Auckland. With a wide tree-lined picturesque main shopping centre, beautiful old buildings and great cafes and shops, it's a must visit when you're travelling on SH1. About two years ago, not long after it opened, I discovered HUS Design Store. I love how they describe themselves on their website - HUS way of living, natural fibres and textures and all things beautiful to the eye and touch. Not only is their collection stylish and exquisite, the interior design and staging displayed throughout the store is absolutely stunning. The endless combinations of colour, texture, pattern and style are a site to behold. A feast for your senses, soft sheepskin cushions beg for you to touch them, and fabrics line the walls. Every detail is attended to and every display is pristine. Take a scroll through my collection of images below, but make sure you visit in person too! Being in this space really is something special. Exquisite soft furnishings. An array of outdoor furniture and accessories. Beautiful rugs and sheepskin cushions. Tableware and dining suites. Kitchenware. Rugs and cushions. Sitting room and office furniture. This is just a small collection of images from the huge array of homewares, gifts, clothing, furniture and more.
Next time you're in the Waikato region in New Zealand, be sure to stop into HUS Design Store. You most certainly will not be disappointed. Design and painting go hand in hand, so if you're looking to revamp a room check out Upcycled & Co. Furniture Paint for your indoor or outdoor projects. Until next time, Kathryn
I'd be absolutely delighted to hear from you... If you've got any ideas at all about where we could take Upcycled & Co. I'd love to hear them. Let me know your thoughts in the comments below. Make sure you follow us on social media to hear what we're up to, learn new techniques and continue your creative journey.
Until next week, Kathryn For years and years I have pored over house and garden magazines looking at the beautiful interiors. A few years ago I started thinking about studying interior design, but thought it would either be too expensive or too difficult. It was almost 12 months ago that I discovered the Diploma in Interior Design by the Interior Design Institute, a self-paced online program. At that time I looked into it, but decided not to proceed as I was preparing to launch Upcycled & Co. as a business. Over the past year I have been keeping the interior design course top of mind, all the time finding that I was being drawn to it more and more. So, at the beginning of September, I decided to go for it. I'm now three weeks into the course and I am loving it! I have completed three modules, receiving 10/10 for the first two, and 9/10 for the third one. Why am I sharing this with you? If you've wanted to study interior design, I'm here to tell you to "Go for it!". Here's what I'm loving about the course so far:
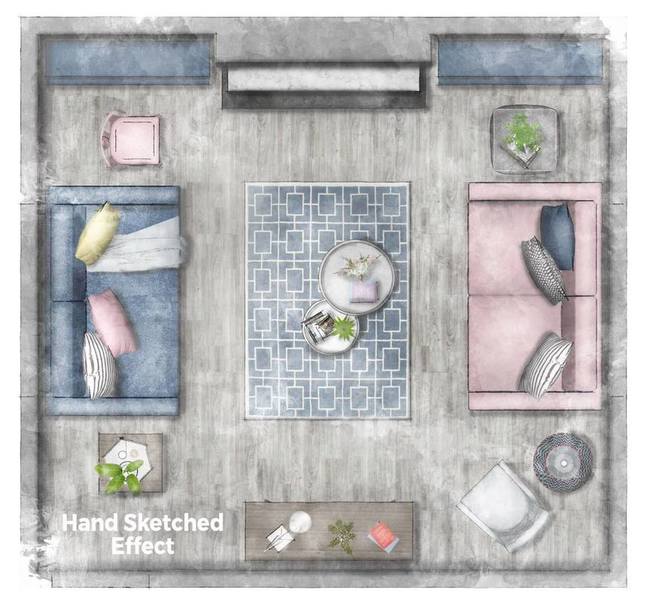
Created by SketchUp Hub The Interior Design Institute currently have a special going until 30th September; head on over to their website to check it out HERE.
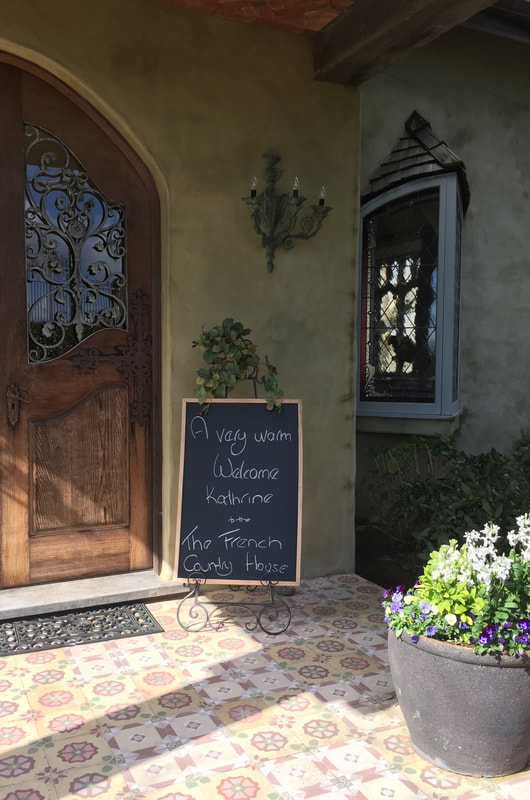
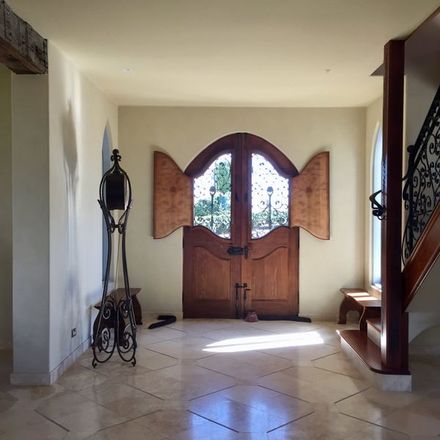
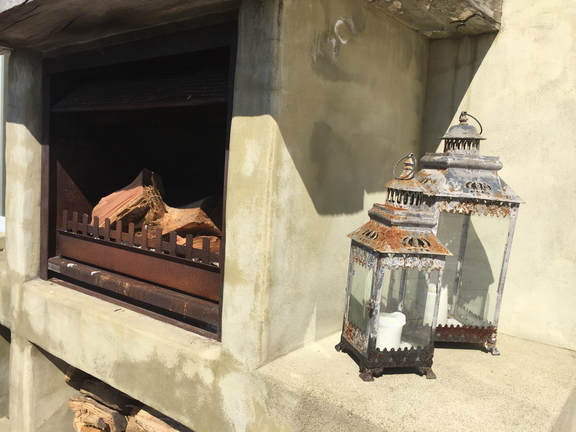
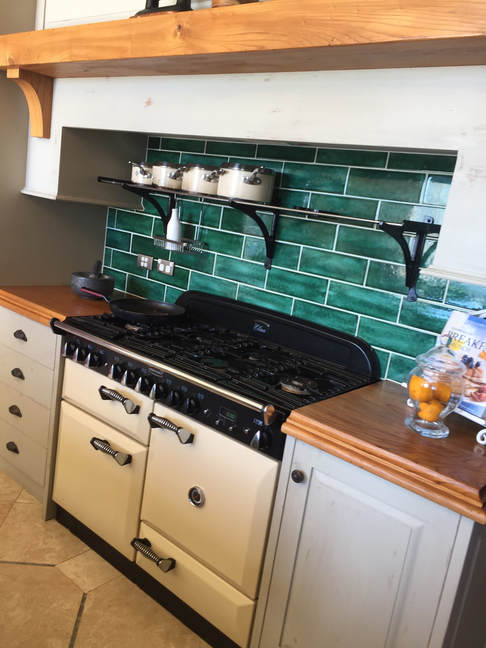
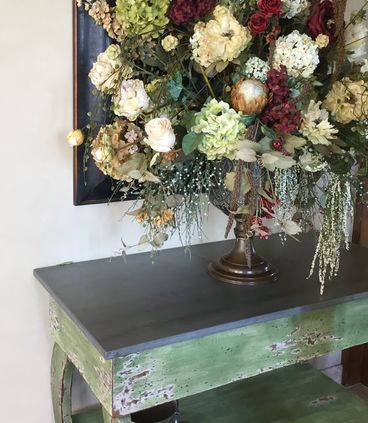
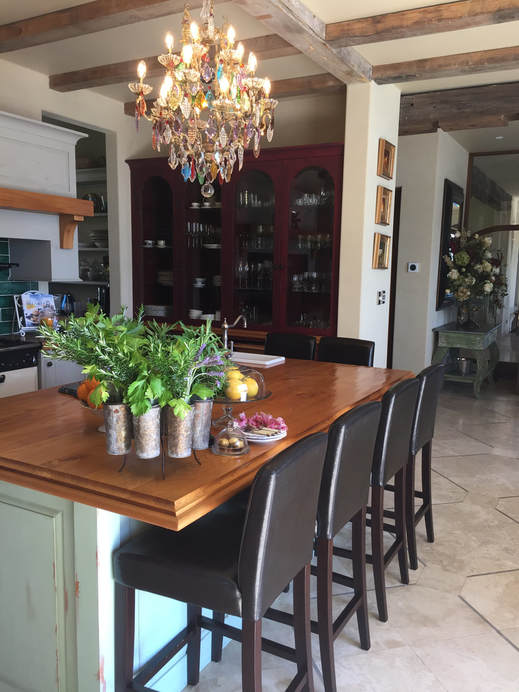
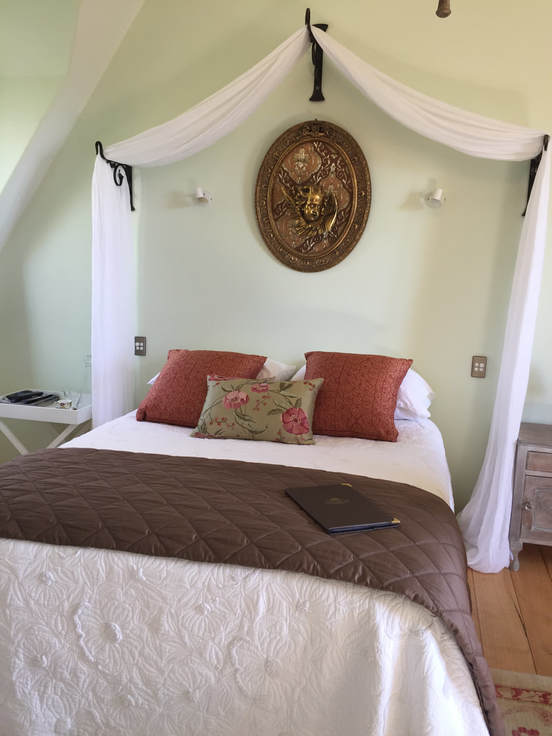
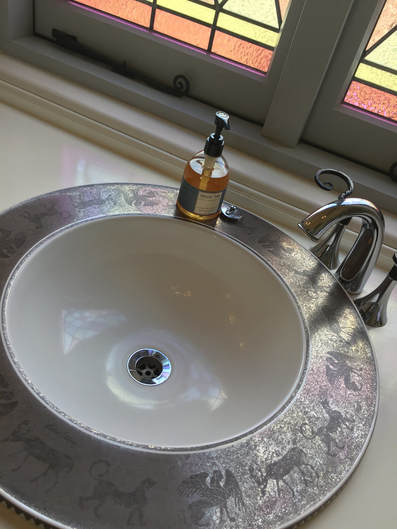
If you'd love to upcycle your furniture, join a Furniture Paint 101 workshop (classroom or online) today! You can check out Upcycled & Co. Furniture Paint too. Last week I had a real treat! On Friday morning I got ready and set off. The French Country House is only 10 minutes from where I live so I didn't have far to go at all. Before I knew it I was there pulling into the driveway with this magnificent home right in front of me. Walking up to the huge double front doors my senses were already overloaded with all of the incredible detail of the property. A collection of beautiful planters either side of the door, exquisite tiles on the front entrance, intricate wrought iron, gorgeous light fixtures and a chalk board to welcome me made for a breathtaking start. Using the cast iron door knocker, I knocked twice and was greeted by Kay, the Manager. We chatted in the entrance briefly before starting my own private tour of this stunning accommodation and wedding venue. As we wandered from room to room my eyes were offered a new feast of exquisite artefacts from all over the world that accentuated each space. From the crisp white bed linen, to beautifully painted furniture, gorgeous robes hanging in the bathrooms and the most stunning views, everything was perfect. With three guest rooms, each with it's own enormous bathroom, every detail is taken care of. Each room is furnished with elegant pieces that enhance the stunning design. Take a tour through The French Country House with me... Breathtaking... The foyer. Rustic outdoor fireplace and lanterns. The kitchen. A beautiful collection of floral arrangements and furniture. An exquisite chandelier sits over the kitchen island. French country charm. A stunning collection of French country furniture. Just beautiful. The blue room. The green room. Bathroom beauty. The star of the show, Freddie. Really, I could go on and on showing you more and more photographs and talking about The French Country House. But I'll stop here, and if you'd like to see more, head on over to my Facebook page or to my Instagram account where I will be continuing to share more images from my visit.
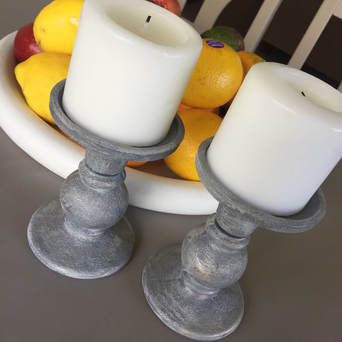
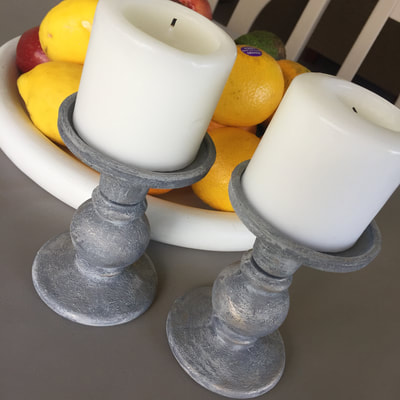
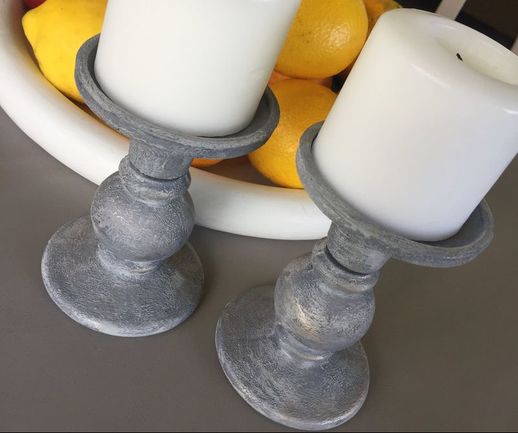
Take a look at The French Country House on Instagram too! For a special occasion you'd like to celebrate in the most charming space, book yourself a weekend at The French Country House. Similarly, considering this exquisite wedding venue is a must! Thank you Kay, The French Country House really is a testament not only to the inspiration and creativity of the owners, but also to your day-to-day management of the property and its guests. Thank you so, so much. If you'd like to know how to create French country style furniture, sign up for my Furniture Paint 101 workshop (online or face-to-face). Next weekend is the first of The Stone Effect workshops I'm going to be running over the next couple of months. This gorgeous finish is ideal for home decor items such as urns, vases, bowls, candleholders and more - it can even be used on furniture! With a number of keen students all signed up and raring to go, I have a few places left. So, if you're in Tauranga, Pukekohe or Cambridge, be sure to book your place on The Stone Effect workshop before it fills completely. You will learn this technique that includes:
In browns, blacks and golds. Stunning in blacks, greys, whites and silver. You can create any colour combination you wish with this finish. In the class you will learn how to mix colours too, meaning you have an endless spectrum of tones to include.
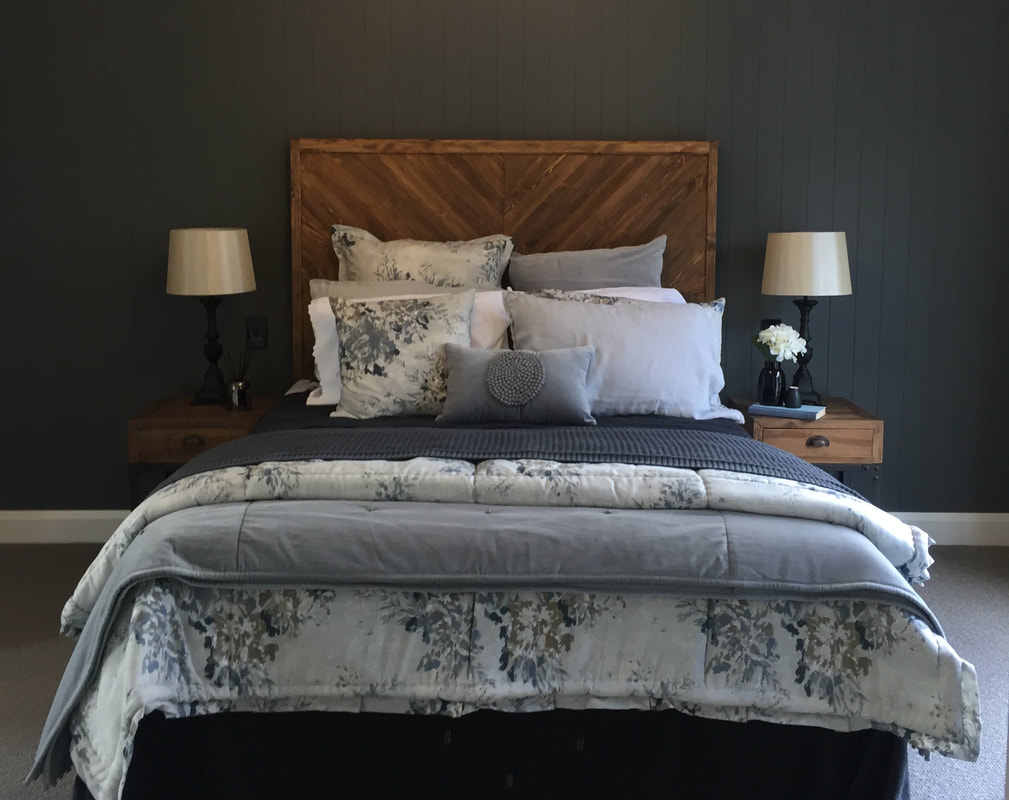
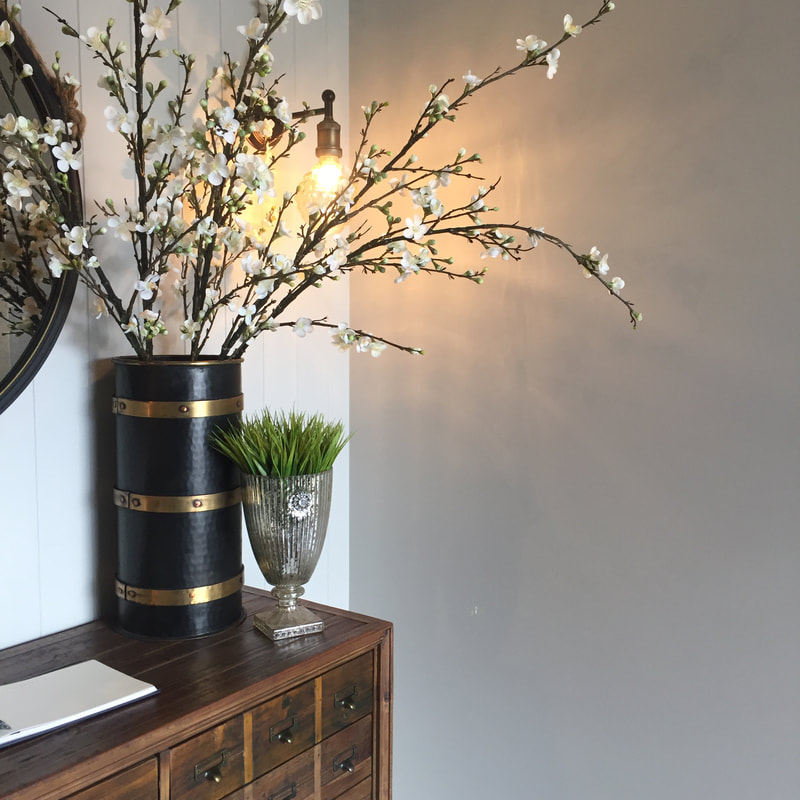
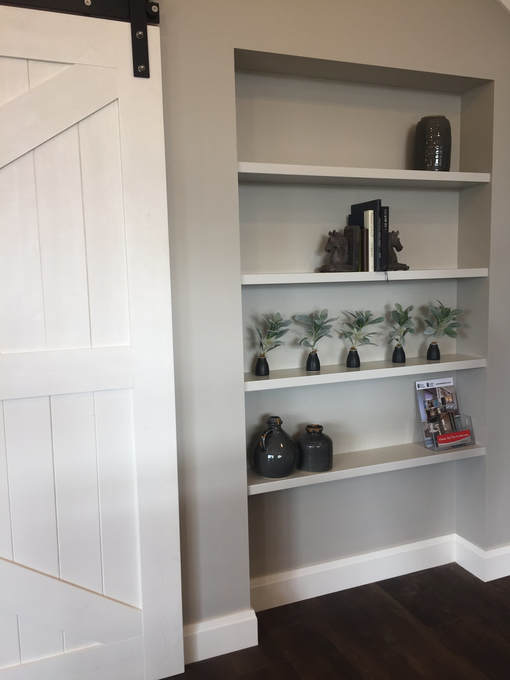
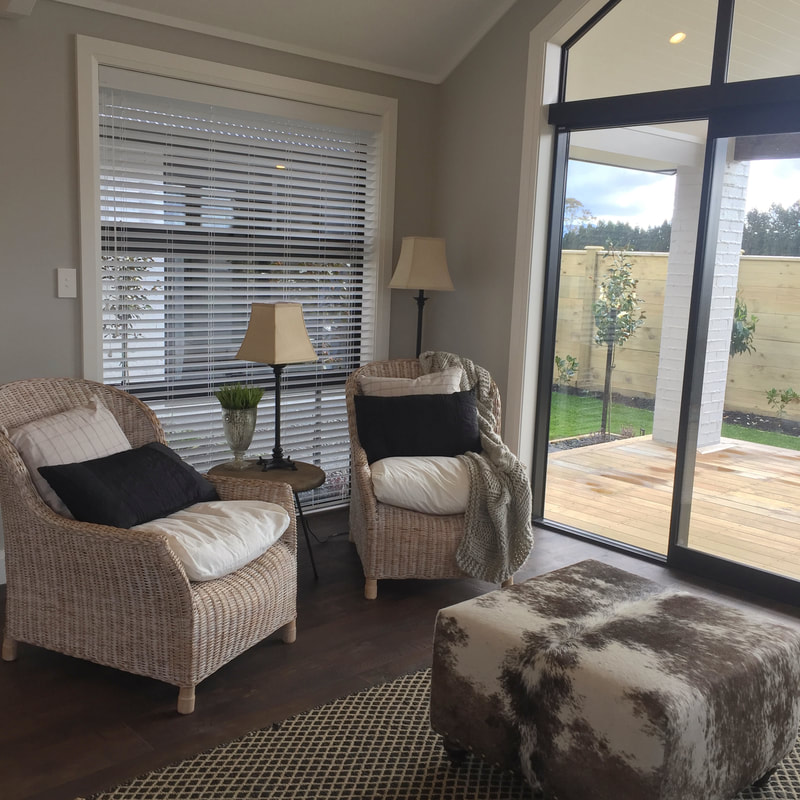
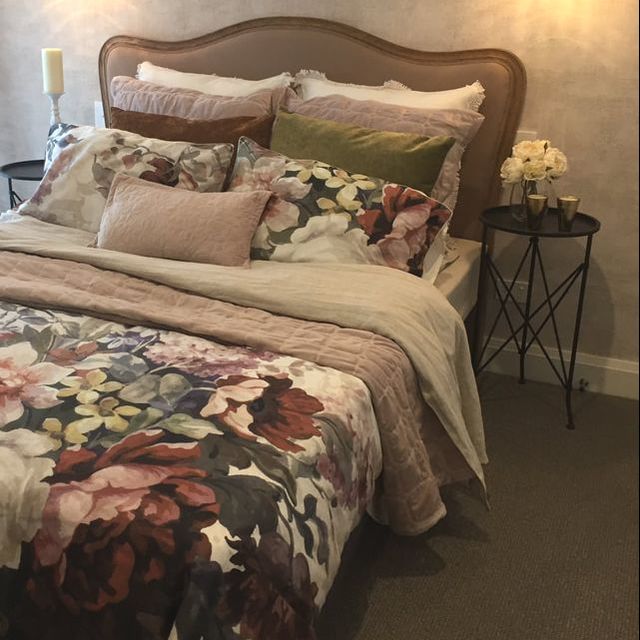
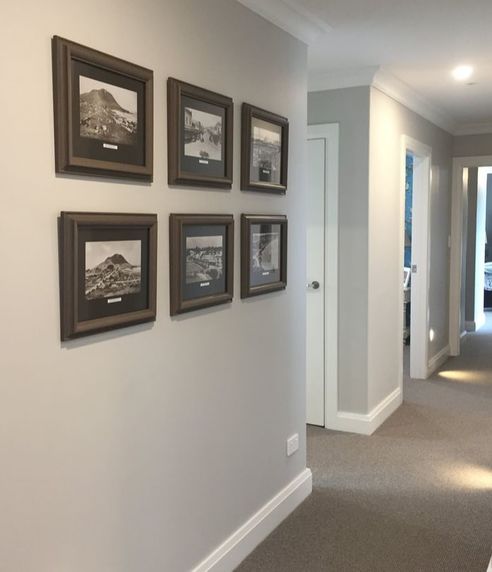
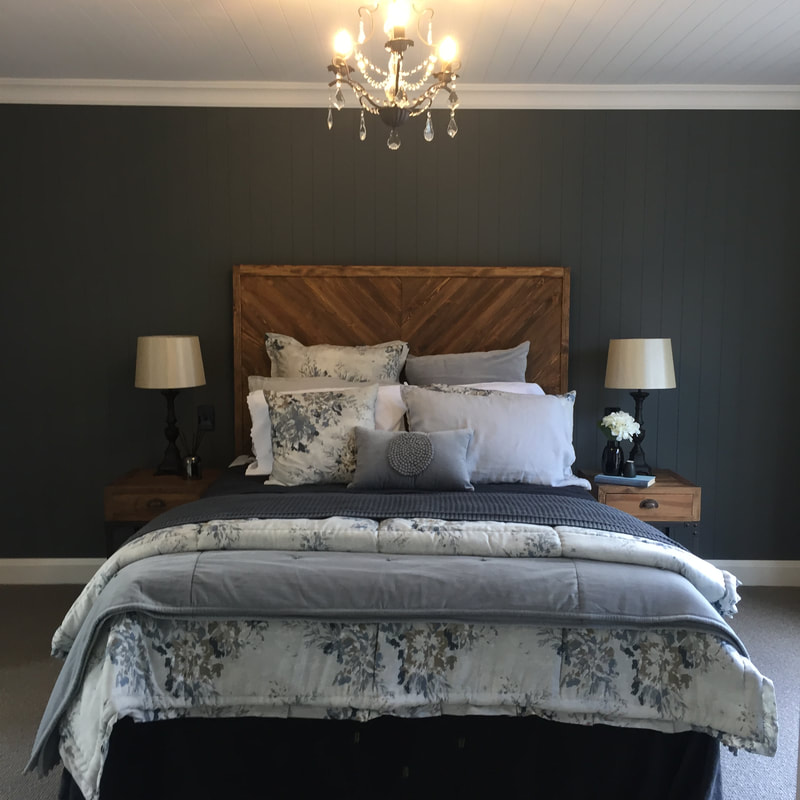
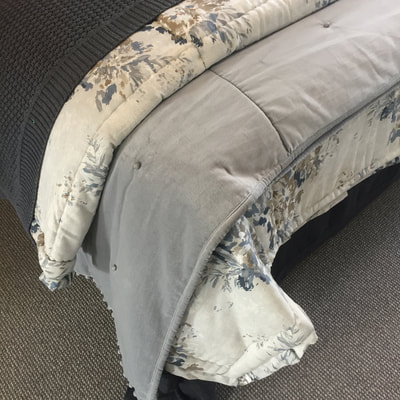
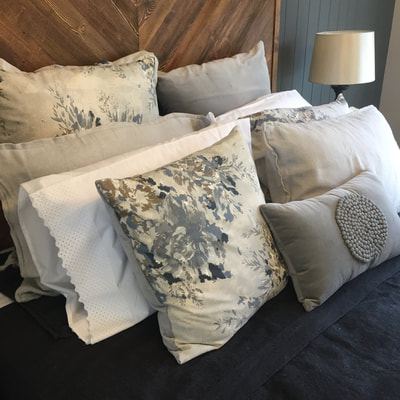
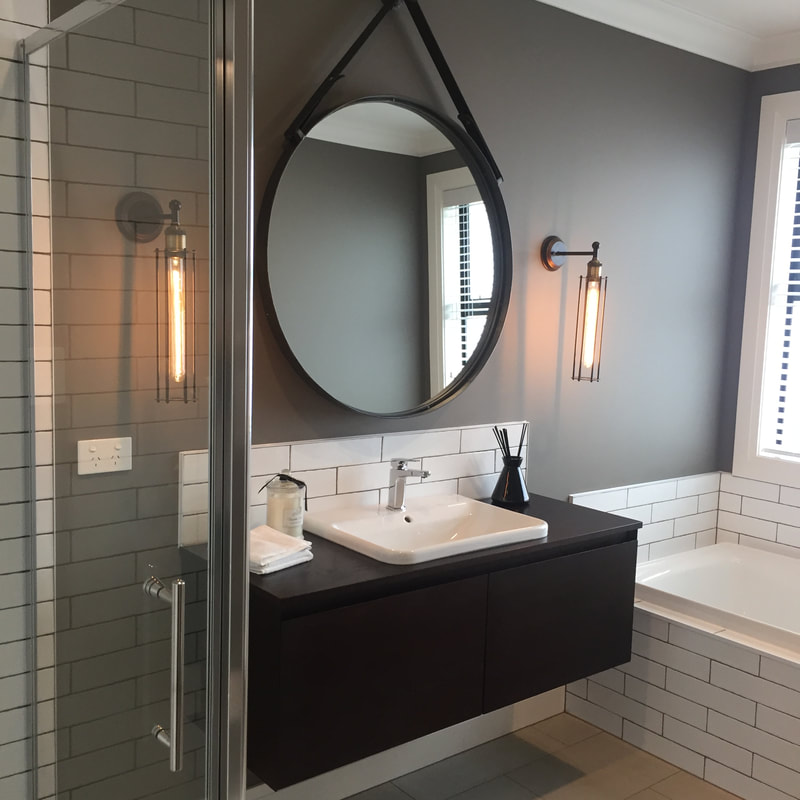
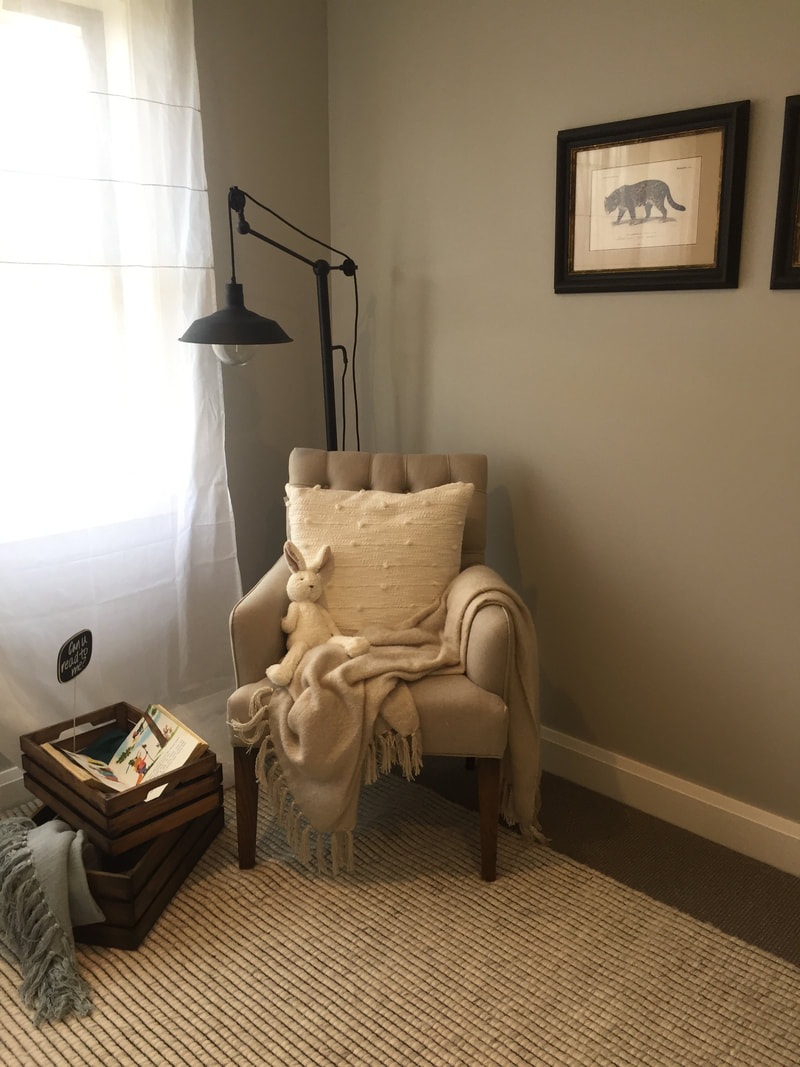
If you're keen, head on over and book your place here. I can't wait to teach this class! See you soon, Kathryn I don't know how many years it is since I've been to a show home; I'm guessing it's at least eight. A little over a week ago, I started a Diploma in Interior Design with the Interior Design Institute. It's something I've wanted to do for a very long time, and, now that I have a home decor related business, I decided it was a good time to do the course. I'm so excited by what I'm learning, by the possibilities of where this could lead, and what I can do with our home, that I've been out to look at a show home today. As part of the course, it is recommended we visit as many show homes and open homes as we can so I thought, what better time to start than on a wet and windy Saturday afternoon. Relatively close to where we live there is a lot of new building going on with a number of show homes. I must say I was really blown away with the design, the decor and the styling of this beautiful home. I have seen plenty of examples of these trends on HGTV, which by the way I'm totally addicted to, but I hadn't seen them in real life. This GJ Gardner home really is quite lovely. A beautiful entrance with a huge round mirror, wooden sideboard, flowers and greenery. The barn door and recessed shelving in the kitchen and dining area are stunning. Cane furniture, faux fur and iron all feature in the family room. Soft pastels, dark green and browns in the guest room. Artwork lines the soft grey hallway. The huge master bedroom in blues, greys and florals. Beautiful linen and furnishings. Bathroom beauty. A chair in the infant's room looks comfy too. Well, I hope you've enjoyed that little tour of my afternoon out looking at a local show home. I know I'm inspired, and I'm guessing you might be too. Even if you're not building, there are lots of renovation and home decor ideas here to use Upcycled & Co. Furniture Paint on to bring them up to date.
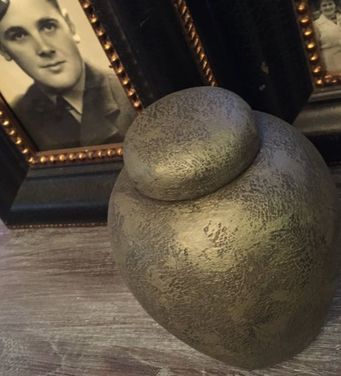
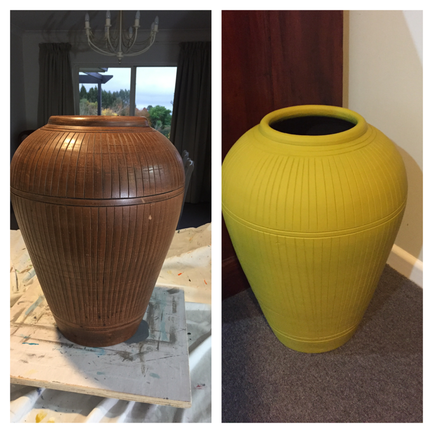
If you're short on furniture painting skills, check out my Furniture Paint 101 workshops available online or in the Northland, Auckland, Bay of Plenty, Waikato and Hawkes Bay regions in New Zealand. Next year I will be travelling further into the Manawatu, Wellington and South Island areas. Keep expressing your creativity in any way you can. Until next time... Have fun! I love bright colours, and right now, all shades of Mustard are among some of my favourites. Experimenting with mixing my Upcycled & Co. Furniture Paint in Mustard, I've been able to create some beautiful pieces for our home, and so have my students. As with all colour, there are so many shades you can achieve when you get your creativity flowing. The Rustic Finish workshop. Using a custom colour mix, I think you'll agree that this piece has really been brought to life. A slightly different custom mix gives a different look altogether. Painted in the same hue as the urn above, both work in our decor. Creating custom colours is fun, and it means you can match any colour you want to. Why not try my online Furniture Paint 101 workshop. You will learn four different painting techniques, plus you will get my BONUS How to Mix Colours workshop. Find out more HERE!
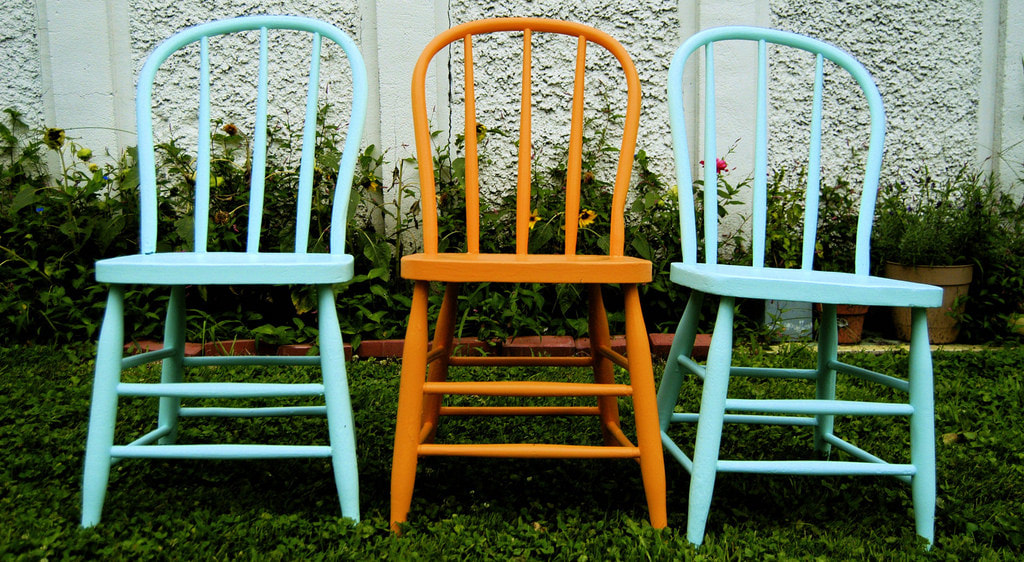
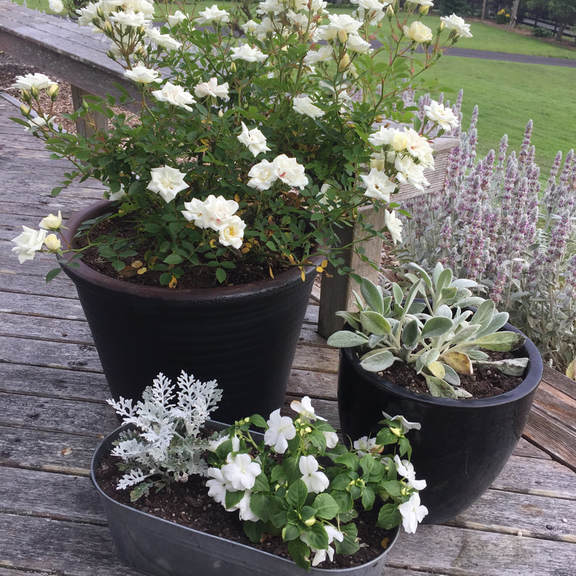
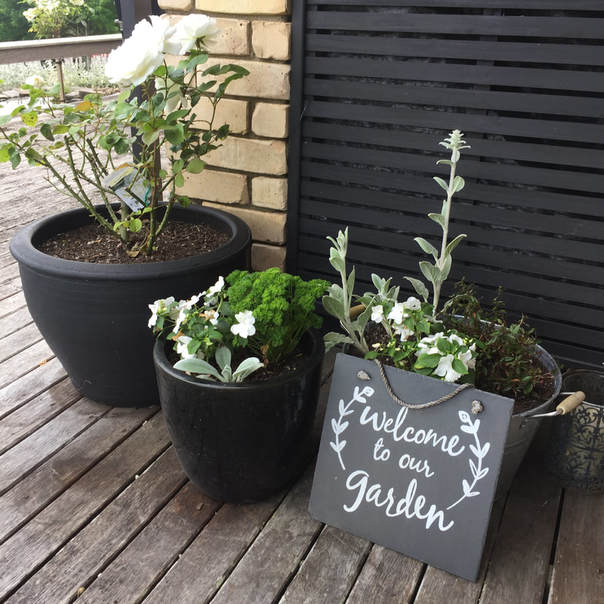
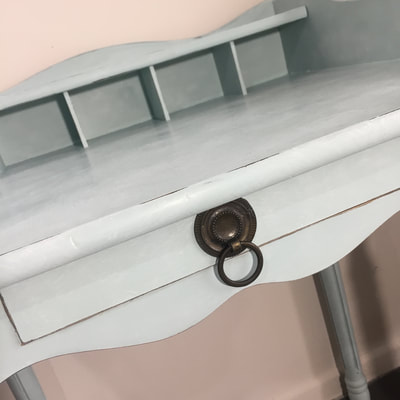
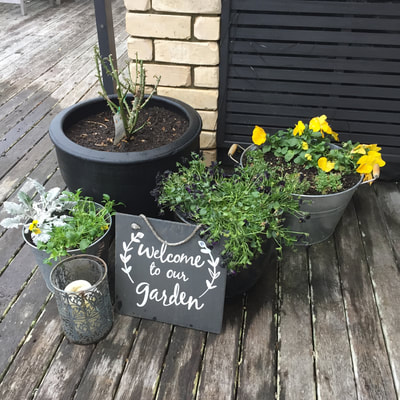
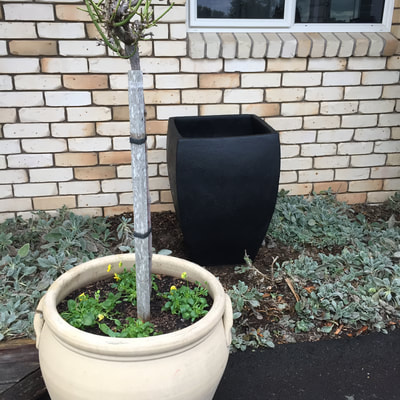
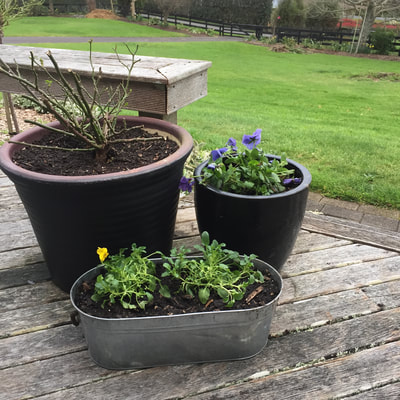
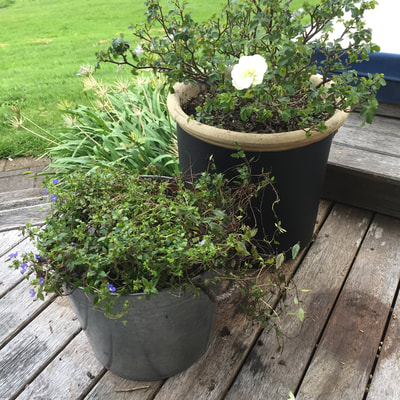
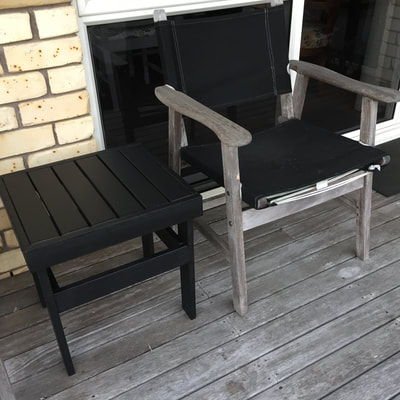
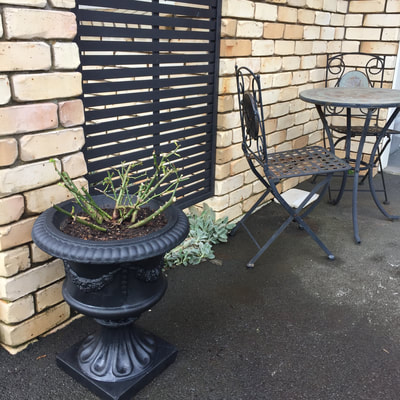
It's almost Spring here in New Zealand so it's time to start thinking about the garden and outdoors again. Last weekend I decided to give our outdoor pots and planters a spruce up with Upcycled & Co. Furniture Paint in Jet. It's amazing what a coat of paint can do! When I thought about launching my own paint brand my biggest focus was bringing something to the market that made furniture painting QUICK, EASY + AFFORDABLE. I wanted the paint to be as versatile too, so you could easily create numerous looks without having to spend fortune. With Upcycled & Co. Furniture Paint you can create both indoors and outdoors, meaning you don't need different paints for your different projects. Simply use my paint for your interior and exterior projects. Here are the shots of my furniture. Click on the images to see a larger version. If you'd love to learn how to upcycle your furniture, join a Furniture Paint 101 Workshop (online or face-to-face in New Zealand).
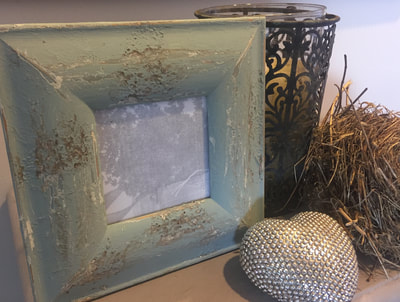
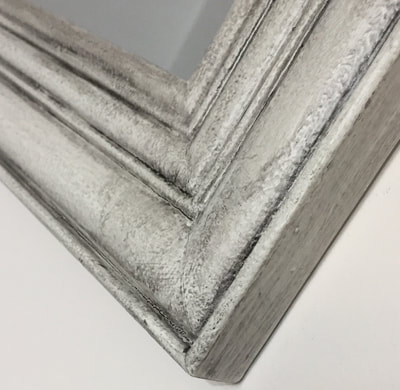
Have you joined my FREE Facebook group yet? You can get access HERE! Happy painting! Kathryn Around 12 months ago I started to explore ideas I'd had about painting techniques. Until this point I'd been creating aged antique looks using chalk paint and waxes, but this was costly by the time I'd bought the paint, clear and coloured wax that was needed. Me being me, and with my background in process improvement, I thought there had to be another way. My thinking was this, if I could develop processes that created the same aged antique look, using only paint, it would be quicker, easier and more affordable. And that, is what I did! For months I tested different paints and different processes, talked with paint manufacturers, then tested some more until I was happy with both the product and the process. Now, you can create a beautiful aged antique look such as these ones below, and all you need is paint. You can learn this technique, along with three others, at my Furniture Paint 101 workshop, either online or face-to-face in New Zealand. I'd love to teach you how to create this beautiful effect using only paint. Like all of my students, you too will discover how easy it really is! I hope to see you at a workshop soon! Kathryn |
AuthorHi I'm Kathryn,
You're going to love how QUICK, EASY + AFFORDABLE it is to transform your furniture. With Upcycled & Co. Furniture Paint, a 3-in-1 that primes, paints and seals (it's not chalk paint) you won't need to sand, prime, wax or seal - just paint and you're done. I'm super-passionate about sharing what I know about furniture painting to make it easy for you. If you'd love to start a creative business I can help with that too, simply click here. Enjoy! |
