|
A rough and rustic look is my favourite which ever way it is prepared. This particular one is super-easy to achieve and there really is no right or wrong way - it just turns out how it turns out. Easy! For this project I chose a side table I picked up locally for $60 so it was a real bargain, and the perfect piece for this technique. In this blog post I'm going to take you through the steps I took to get the look. Of course I've used Upcycled & Co. Furniture Paint. It's a 3-in-1 furniture paint that primes, paints and seals meaning you do not need wax or varnish to finish your piece. This makes the process quicker and easier, and the best part, it makes it more affordable. In April 2017 I launched Upcycled & Co. Furniture Paint after noticing that it was quite expensive to use a chalk type paint by the time I had bought the paint and the coloured and clear waxes. I wanted to create a product that was more accessible for people due to the cost. Around six months before my launch I set about experimenting with paints and finishes; I wanted to create the same waxed looks, but just using paint and I knew there had to be a way. So, me being me, I found the way. I then spoke with paint manufacturers and found one who could provide what I needed, and as they say, the rest is history. Designed to work with my Furniture Painting Workshop processes and techniques, Upcycled & Co. Furniture Paint is hardwearing, and it's indoor and outdoor. 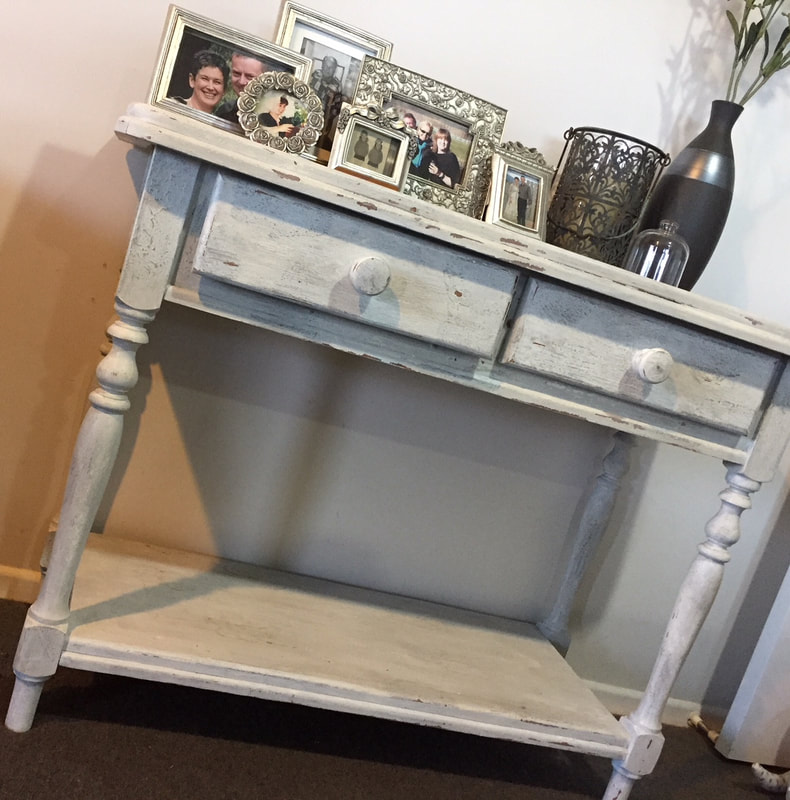 Here's how I got the look: STEP 1 Clean your piece well with warm soapy water. Use sugar soap if you have built up grime or dust. Remove any wax or furniture polish with rubbing alcohol, methylated spirits or mineral turpentine until it is gone. STEP 2 Choose three colours (or two or more if you wish). For this table I have used Upcycled & Co. Furniture Paint in White, Linen and Ash. 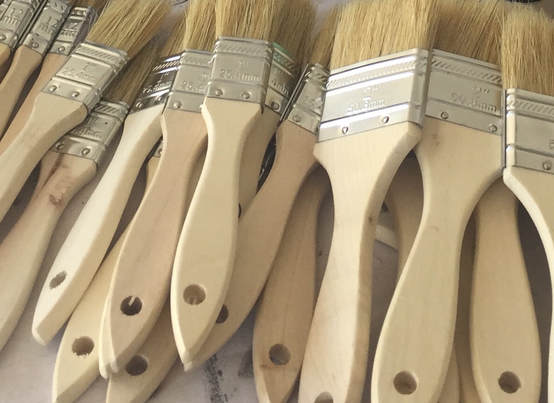 For this type of project, I use a chip brush. These come in a range of sizes and for this particular job I used the 75mm one which means you can cover a bigger area making it much quicker. 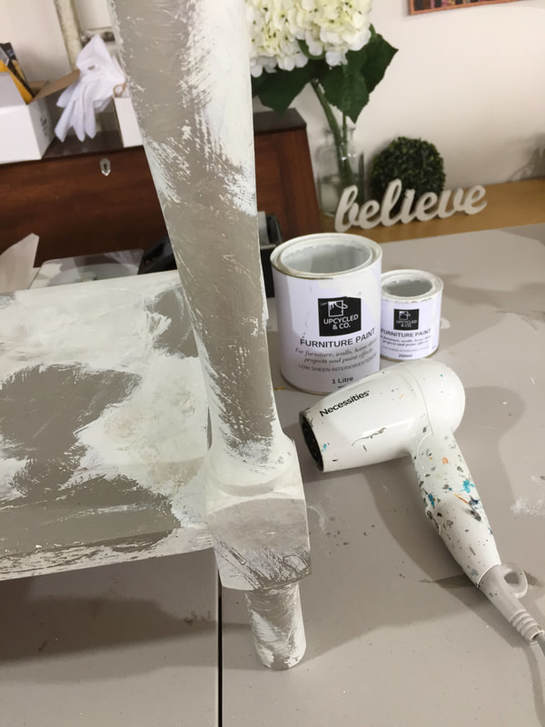 STEP 3 Paint your piece all over, in all directions, with your base colour (I used White). This is the colour you will see a small amount of once you're project is finished. Because we are wanting lots of texture, it is important that you paint any which way, and use your brush to stipple as well (a stabbing motion with the tip of your brush on your painted surface). As you apply the paint, half dry it with a hairdryer, then drag your brush back and forth to create texture. IMPORTANT: The thicker your paint (e.g. the more paint you use) the more texture you will get. STEP 4 With your second colour (I used Linen and this one you will see a small amount of too, but it will blend with the other colours once your piece is completed), again paint in all directions, but this time, paint thick patches on your piece, randomly selecting areas to paint. Once you've got your patches on, again, half dry them with a hairdryer, then drag your brush over them to create more texture. STEP 5 Once you have both of your bottom coats on, give your piece a good dry off, either with a hairdryer or leave your piece a few hours in the sun or overnight in a warm room. STEP 6 With your third colour (I used Ash) water your paint down slightly, then paint one coat over the whole piece, this time paint back and forth as you normally would. It doesn't matter if your piece is not completely covered (you may still see some bit underneath). Allow time for this coat to dry as above. STEP 7 Using a sanding block and/or small pieces of 240grit sandpaper, rub the piece back to bring the underneath colours through. Again, this is random and you can do as much or as little as you like. Make sure you wipe away any dust using an old paint brush. STEP 8 Wipe your piece over with a wet rag to remove all sanding dust. You may need to wipe it a couple of times. 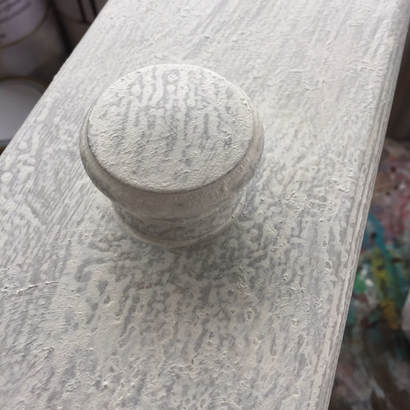 STEP 9 Now choose one of your colours (I used White) for your final coat. Water this paint down about 50/50 then brush it all over your piece (as in the picture above). This coat will dry quite quickly. 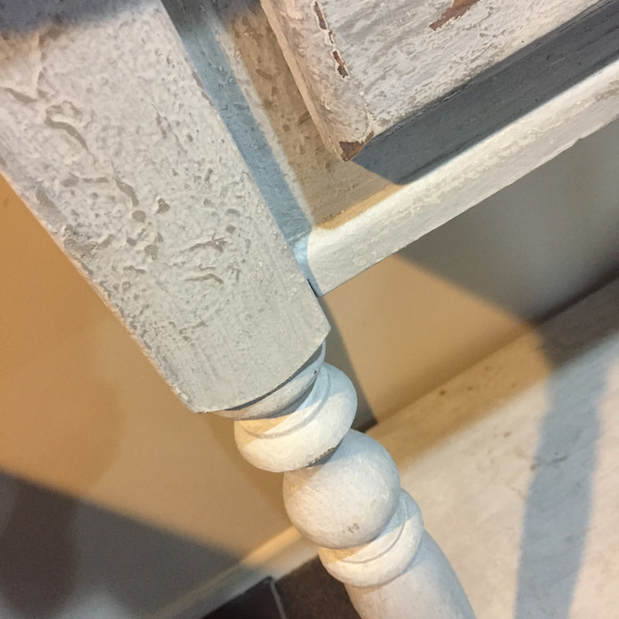 STEP 10 Once your piece is dry, distress the edges using 240 grit sandpaper to reveal the colours (and some of the wood) underneath.  The great thing about this technique (and all furniture painting process for that matter) is that you're goal is to create something unique for your home. To my mind, furniture painting is not about creating something perfect that looks like it has come out of a factory, it's about having fun and enjoying the creative process. And if you don't like it when you're done... simply paint over it! Find out more about Upcycled & Co. Furniture Paint and my furniture painting workshops. Happy painting! Kathryn x
1 Comment
12/10/2018 10:57:32 pm
Lovely makeover, you could paint or change the handles to silver to match with the photo frames. Your comment will be posted after it is approved.
Leave a Reply. |
Author
Hi I'm Kathryn,
You're going to love how QUICK, EASY + AFFORDABLE it is to transform your furniture. With Upcycled & Co. Furniture Paint, a 3-in-1 that primes, paints and seals (it's not chalk paint) you won't need to sand, prime, wax or seal - just paint and you're done. I'm super-passionate about sharing what I know about furniture painting to make it easy for you. If you'd love to start a creative business I can help with that too, simply click here. Enjoy! 
|