UPCYCLED & CO.
  • ABOUT
  • PAINT
  • WORKSHOPS
  • INSTRUCTIONS
  • SHOP
  • BLOG
  • FAQ
  • FREE

10 Furniture Painting Tips & Tricks

11/2/2018

0 Comments

 
Picture
When you're painting furniture you want to learn what not to do, just as much as what to do. Right?

Over the years I have learnt a lot from others, and I've had my fair share of learning experiences (aka failures and disasters). ​

​It's always fun testing new ideas and trying things out, some of which are successful, and some not so successful; and we all have those, believe me.

Today I want to share some of these with you, so that you don't make the same mistakes.

  1. Always put the lid back on your paint pot securely between coats. Why? Well, let's just say that if you pick it up when the lid is not on securely, you could have an awful mess. Enough said.
  2. Keep your pot of paint well away from the edge of the table when you're painting. Kind of the same thing as No. 1 above really. A 1 litre pot of paint on the floor is no fun. Believe me on this one.
  3. Don't automatically assume you need to sand your piece before you paint it. Around 95% of the time, you don't need to. You will save yourself an awful lot of work. ​
  4. Either keep your brushes in water between coats or rinse them in a jar of water and dry them throughly on an old rag (a lint-free one). If you leave them out with paint on they will go hard very quickly. Upcycled & Co. Furniture Paint is fast drying.
  5. When applying a white wash use a pile of small rags, rather than one large one you keep turning over and over. It's easier to use one small rag, discard it, then use another.
  6. If you're unsure how a colour is going to look, test it on a part of your piece that cannot be seen. You can always sand it off if you don't like it. Or you may be able to remove the paint with methylated spirits if it is not fully cured.
  7. Leave your piece for 7 days once you have painted it. This means leave the drawers out and doors off to ensure the paint is fully cured (hardened) before you put it back together and use it. 
  8. Practise a finish on a piece of wood or a photo frame if you're unsure whether you're going to like it on your piece of furniture.
  9. Start with a small piece of furniture first. Things like dining suites are big projects that take time to complete, and you will want to feel confident when you tackle a project like that.
  10. Practise. Practise. Practise. Although the techniques are easy, you will need time to get the feel of how the paint behaves, and how you achieve each finish. 
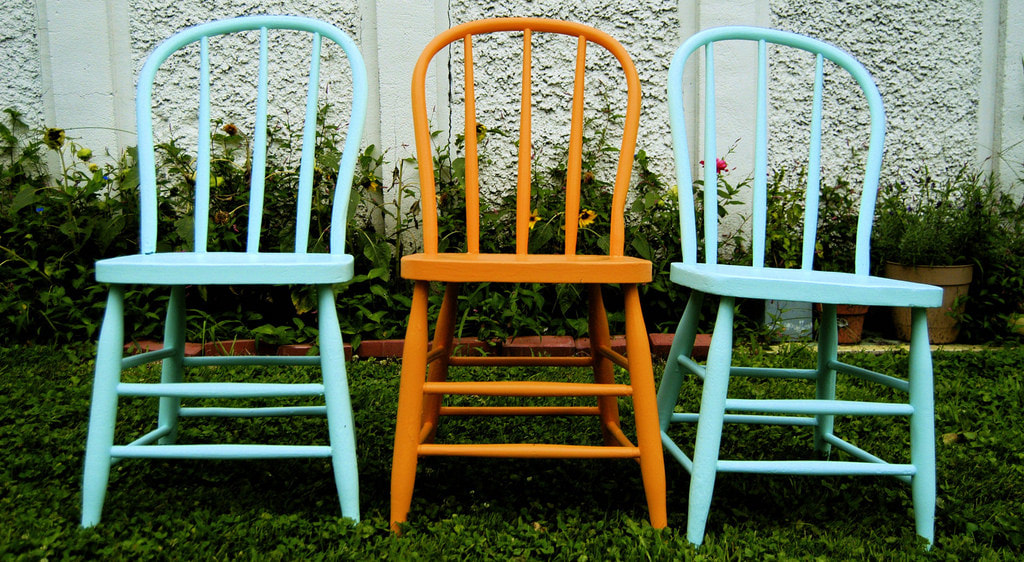
Remember that furniture painting is about having fun, being creative and making something unique for your home, it's not about producing something that looks like it's come out of a factory.

Have fun!

​Kathryn x

0 Comments

Your comment will be posted after it is approved.


Leave a Reply.

    Author

    Picture
    Hi I'm Kathryn,
    ​You're going to love how QUICK, EASY + AFFORDABLE it is to transform your furniture. With 
    Upcycled & Co. Furniture Paint, a 3-in-1 that primes, paints and seals (it's not chalk paint) you won't need to sand, prime, wax or seal - just paint and you're done.

    I'm super-passionate about sharing what I know about furniture painting to make it easy for you.

    If you'd love to start a creative business I can help with that too, simply click here.

    Enjoy!
    Picture
FIND US ON FACEBOOK
FOLLOW US ON FACEBOOK

What OUR CUSTOMERS say

Practising furniture painting techniques boosted my confidence and creativity.
​Jo Wiggett

I love the finish; it's more hard wearing than others and I don't have to wax!
Rebecca Lucas

Look out furniture... the workshop was amazing! 
Rachel Morris

Connect


info@upcycledandco.com
​Terms & Conditions     Contact     Login
FOLLOW US ON INSTAGRAM
© ​Copyright Upcycled & Co. 2023
Photo used under Creative Commons from mauxditty
  • ABOUT
  • PAINT
  • WORKSHOPS
  • INSTRUCTIONS
  • SHOP
  • BLOG
  • FAQ
  • FREE